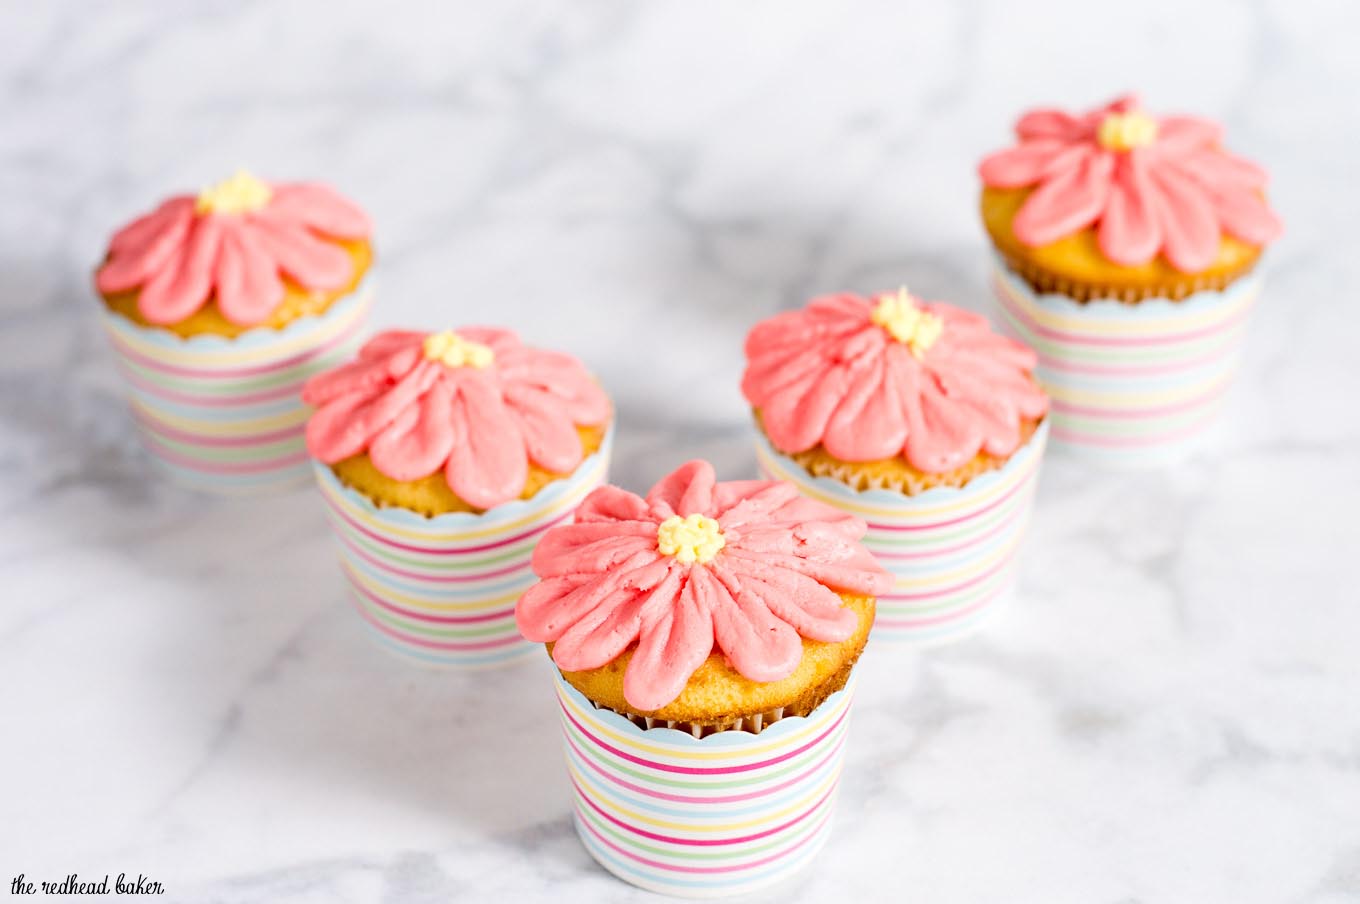
With buttercream icing and a few simple tools, use this tutorial to turn your favorite cupcakes into beautiful gerbera daisy cupcakes for any spring occasion!

I've expressed my excitement about the change in the weather in other recent posts. Warmer weather. Flip flops. Fresh spring produce. Bright colors.
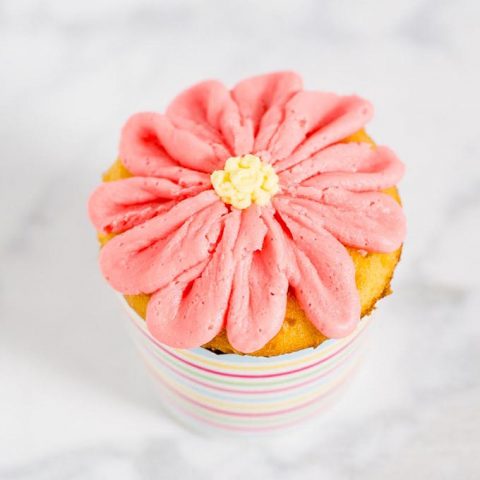
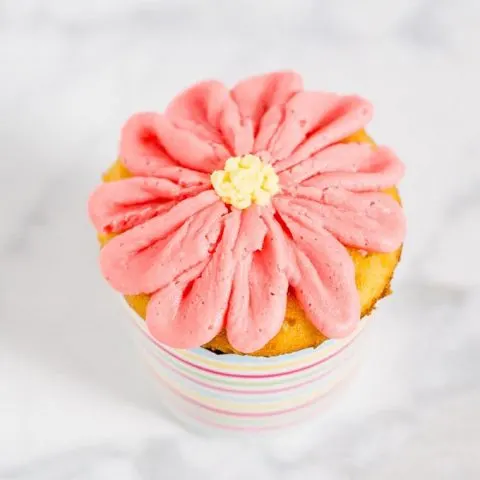
Spring also brings with it beautiful flowers. What else says "spring" like flowers? Well, now you make any spring occasion just a little bit brighter with cupcakes iced like spring flowers, like these gerbera daisy cupcakes.
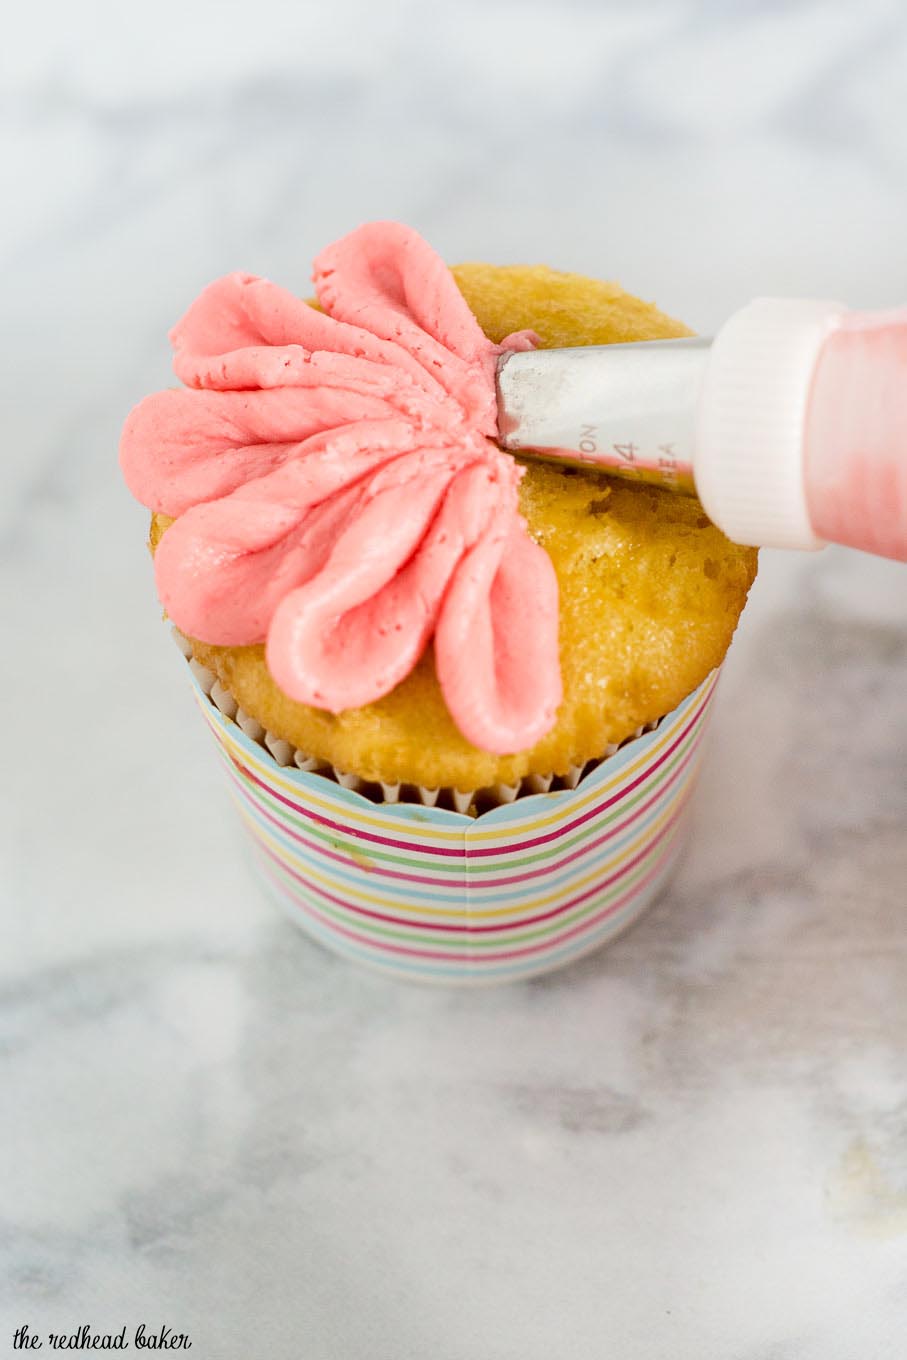
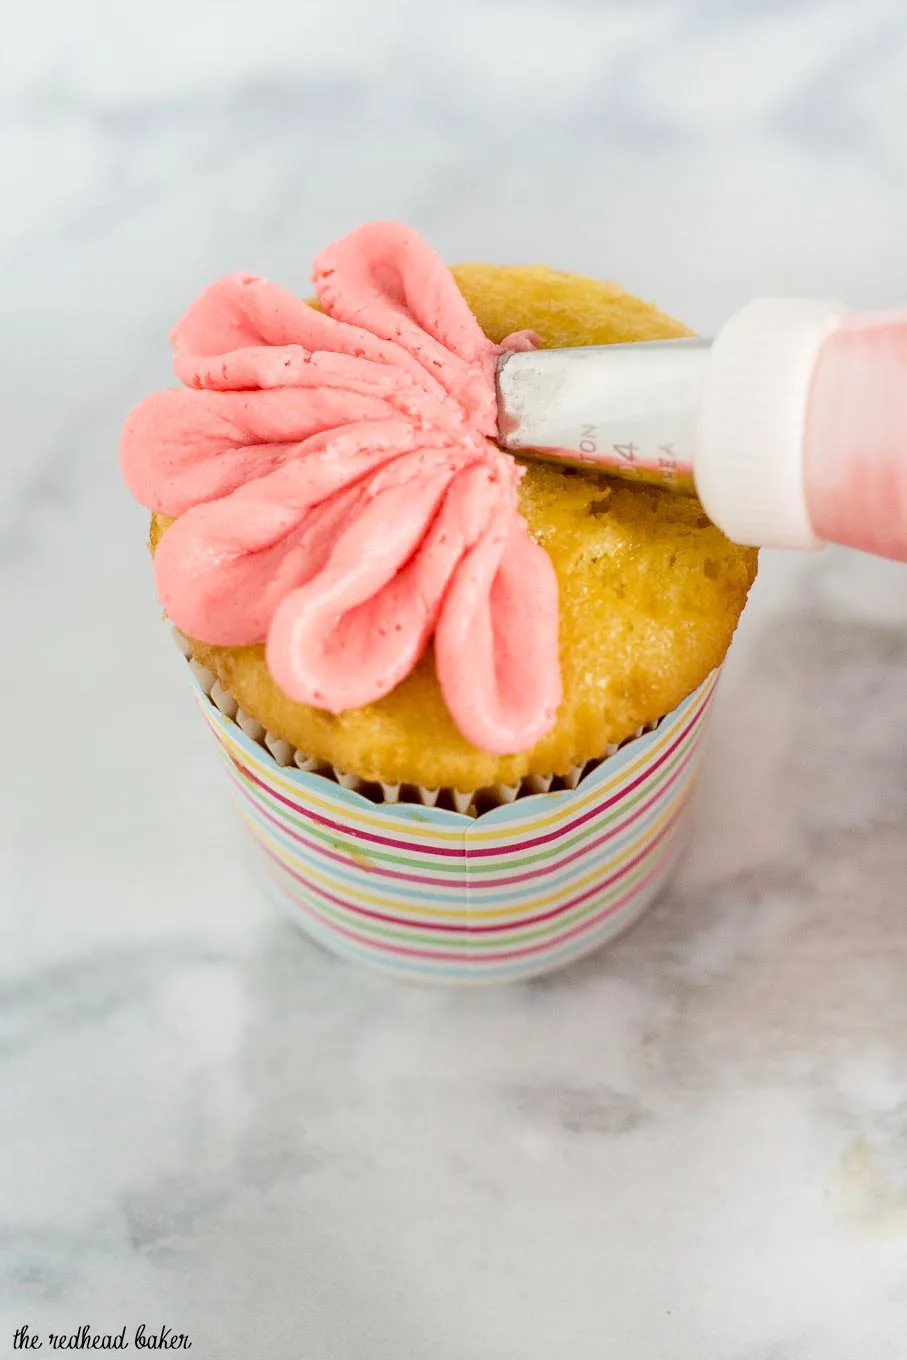
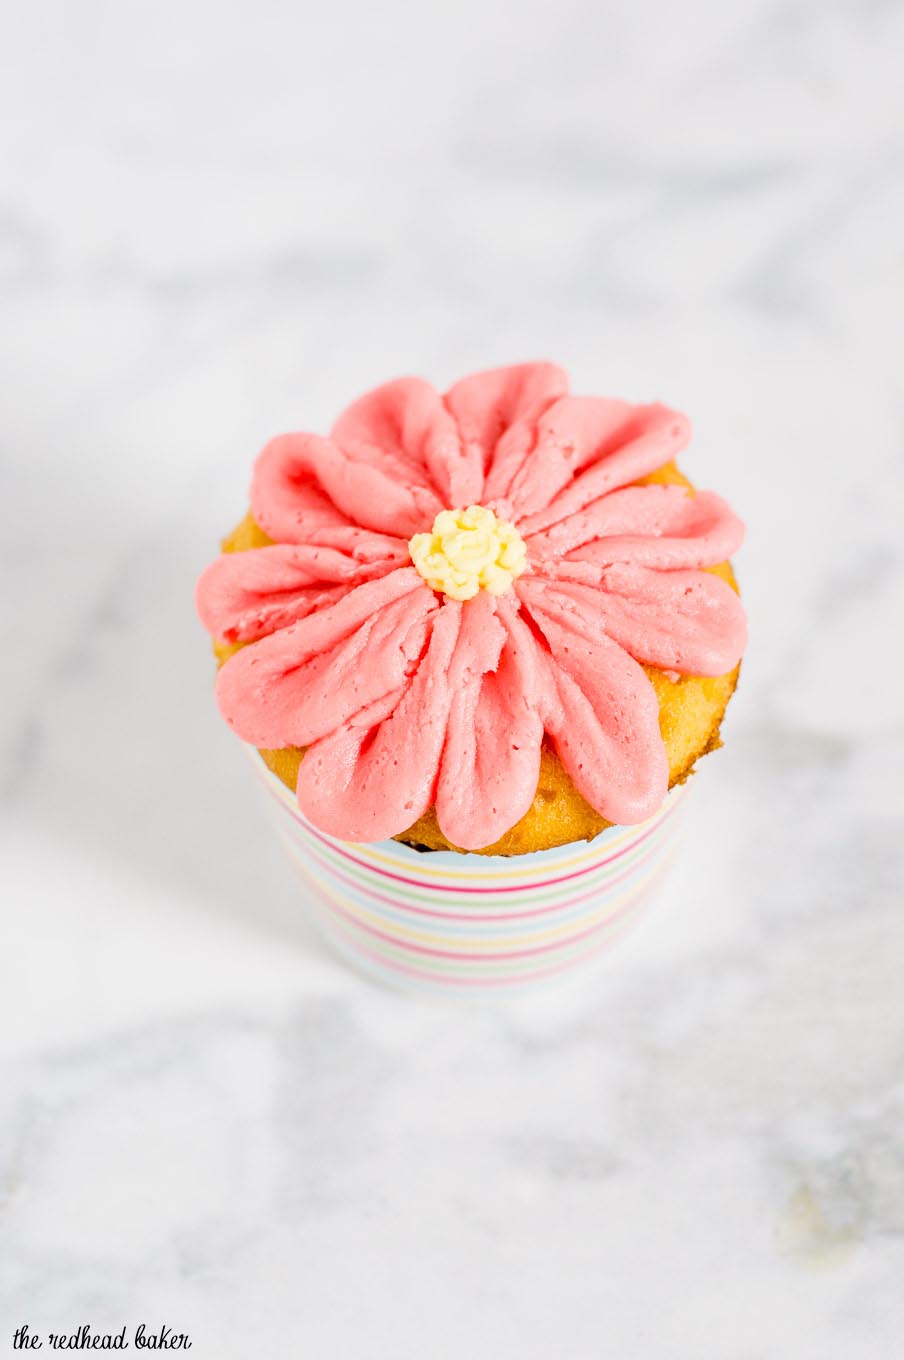
As far as piping techniques go, this one is very simple. Forming the petals uses a simple back and forth motion. The center of the flower is formed with little dots of icing. I've included a recipe for decorator's buttercream below. For something like this, you want a buttercream that "crusts," or hardens. This helps the piping hold its shape and holds up better to warm conditions.
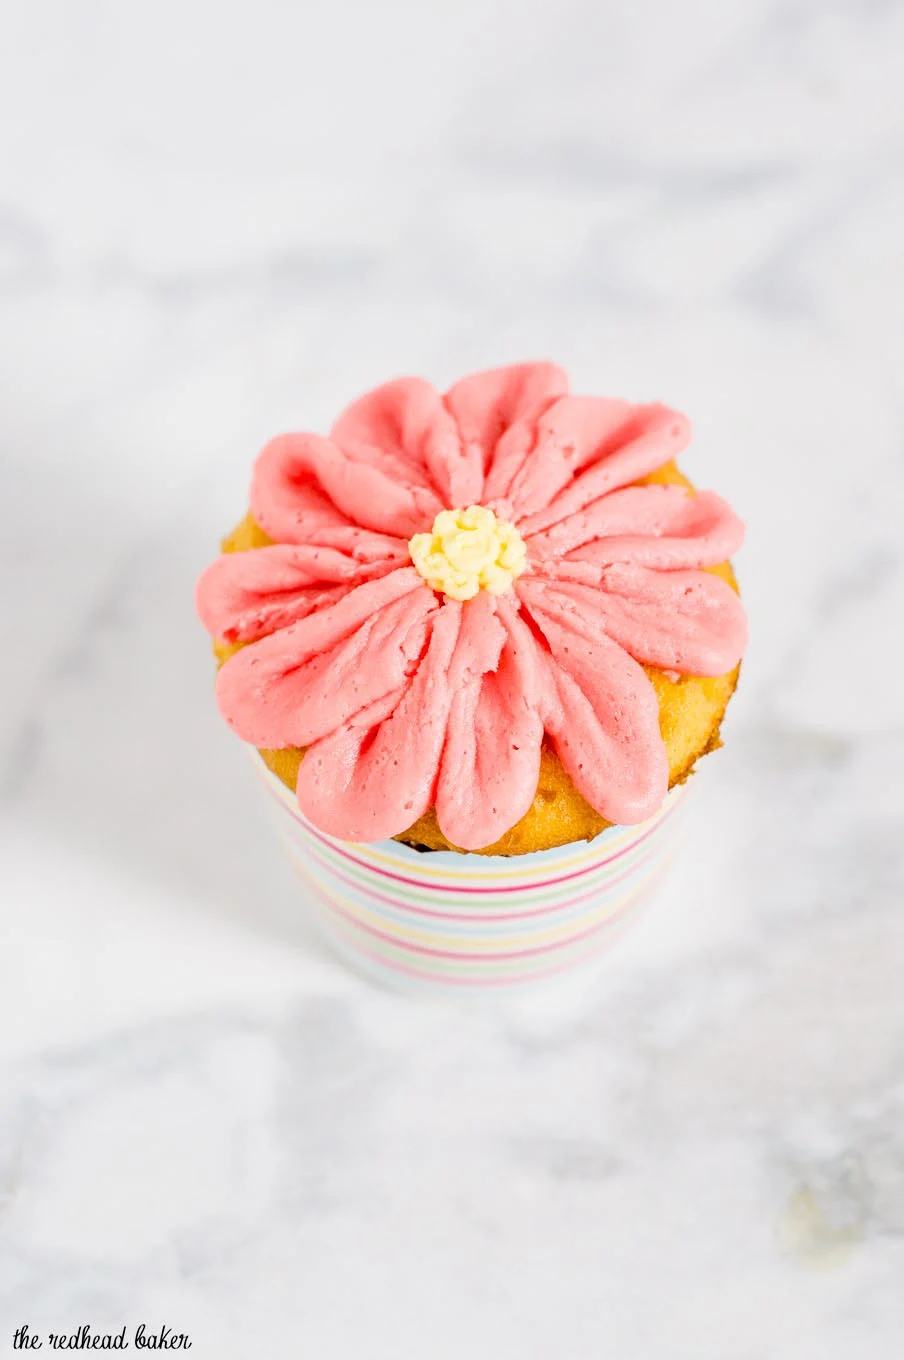
Use any flavor of cupcake you like. And since gerbera daises come in all shades of the rainbow, you can use any food coloring you like. I used one drop of Americolor Super Red for the petals, and one drop of Americolor Yellow for the centers. I prefer Americolor gel food coloring because it doesn't water down the icing consistency the way liquid food coloring does.
Feel free to practice forming the petals on parchment paper before actually icing your cupcakes. As long as you don't pipe the dots in the center, you can scrape the practice petals right back into the bowl and use the icing over and over again until you are comfortable icing your cupcakes.

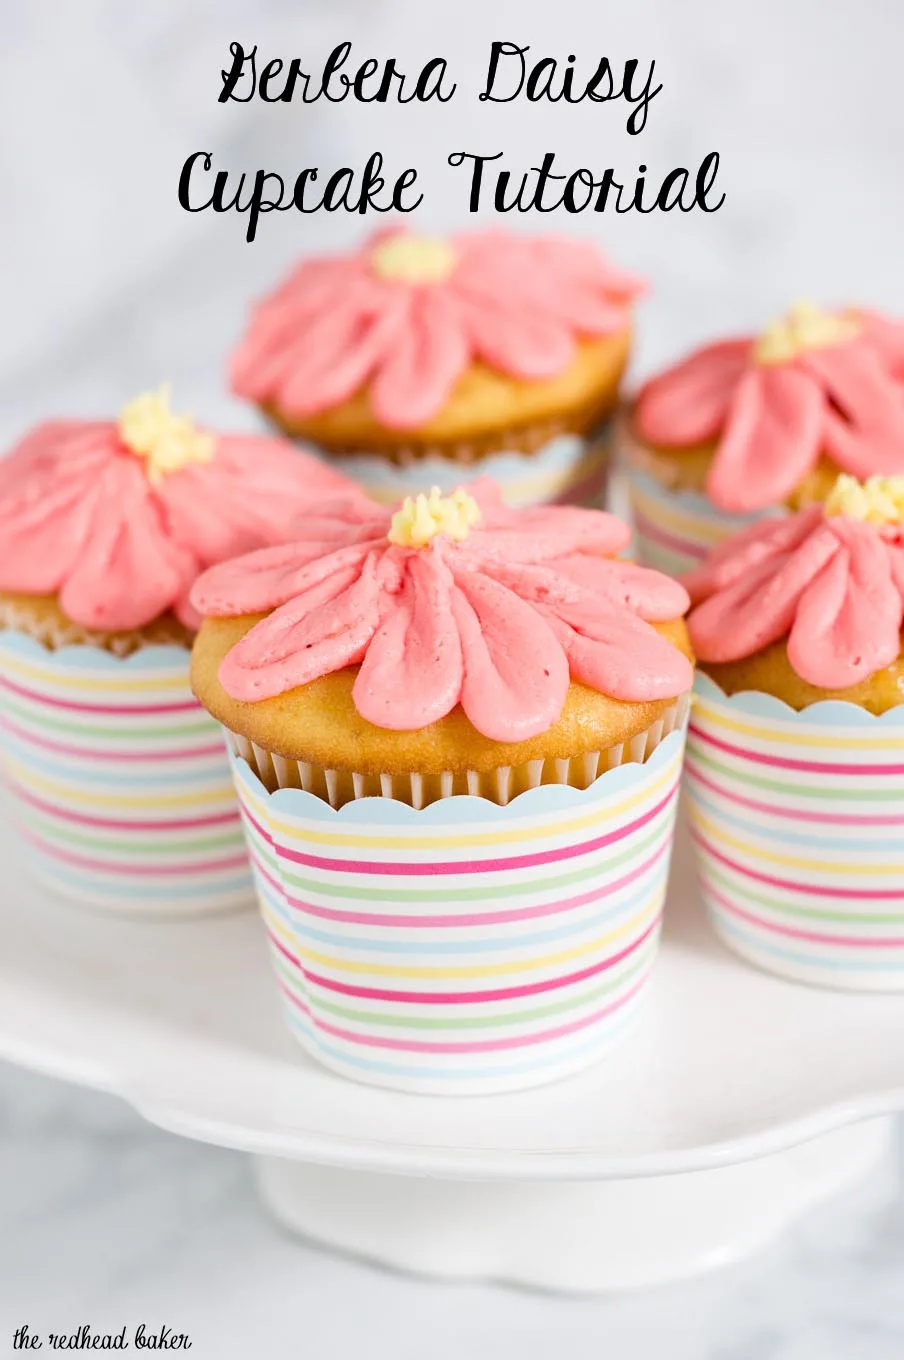
Gerbera Daisy Cupcakes Tutorial
Ingredients
For the icing
- ½ cup vegetable shortening
- ½ cup unsalted butter, softened
- 1 teaspoon vanilla extract
- 4 cups confectioners sugar, 1 lb, sifted
- 2 tablespoon milk
For the gerbera daisy cupcakes
- 24 cupcakes, any flavor
- 2 16-inch disposable piping bag
- 1 #104 decorating tip
- 1 #2 decorating tip
- Food coloring
Instructions
- In a large mixing bowl, beat together the shortening and butter with the paddle attachment of an electric mixer until light and fluffy. Beat in vanilla.
- Gradually add sugar, one cup at a time, beating well on medium speed. Scrape sides and bottom of bowl often.
- Gradually add milk; beat at medium speed until light and fluffy.
- Remove one quarter of the icing to a separate bowl. To the larger amount of icing, add one drop of desired petal color and beat until thoroughly mixed in. Add additional color, one drop at a time, until desired color is achieved (remember that once icing is dry, color will appear darker). Repeat with the smaller bowl, using desired flower center color.
- Fit #104 petal tip into one of the disposable decorating bags. Snip off the tip of the bag. Fill the piping bag halfway with petal icing. Hold the piping bag at a 45° angle to the surface of the cupcake with wide end toward the outer edge of the cupcake and the narrow end at the center of the cupcake. Gently squeeze out some icing, and move the piping tip toward the outer edge of the cupcake, then back in toward the center to create a narrow petal. Repeat all the way around the edge of the cupcake.
- Fit #2 tip into the other disposable decorating bag. Snip off the tip of the bag. Fill the piping bag halfway with the other color of icing. Hold the piping bag at a 90° angle to the surface of the cupcake, gently pipe a circle of small dots in the center of the cupcake, over top of where the petals meet.
- Cupcakes can be stored at room temperature for up to 3 days.
Icing recipe by Wilton
Sandra Watts
Thursday 30th of March 2017
They are so pretty!