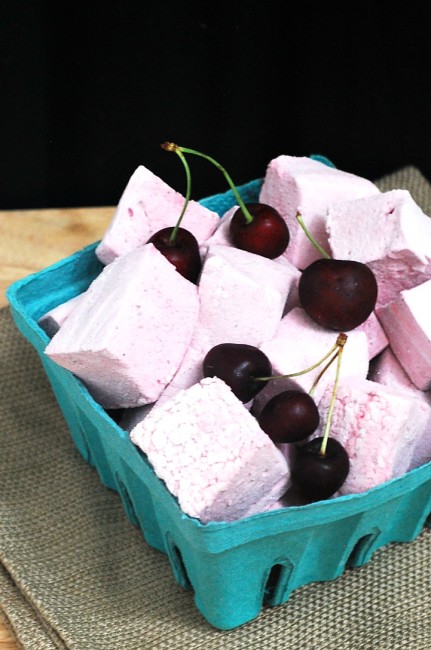
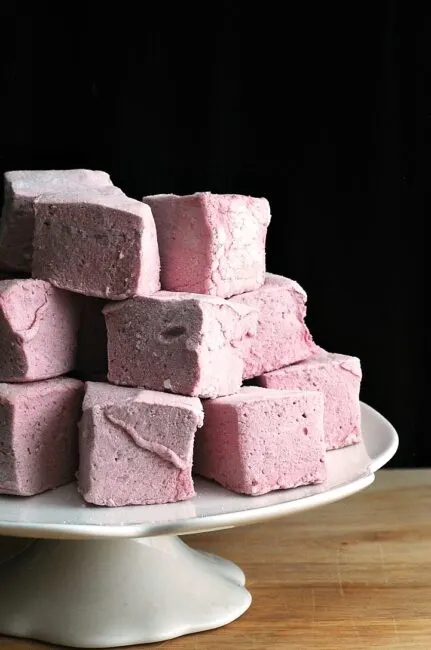
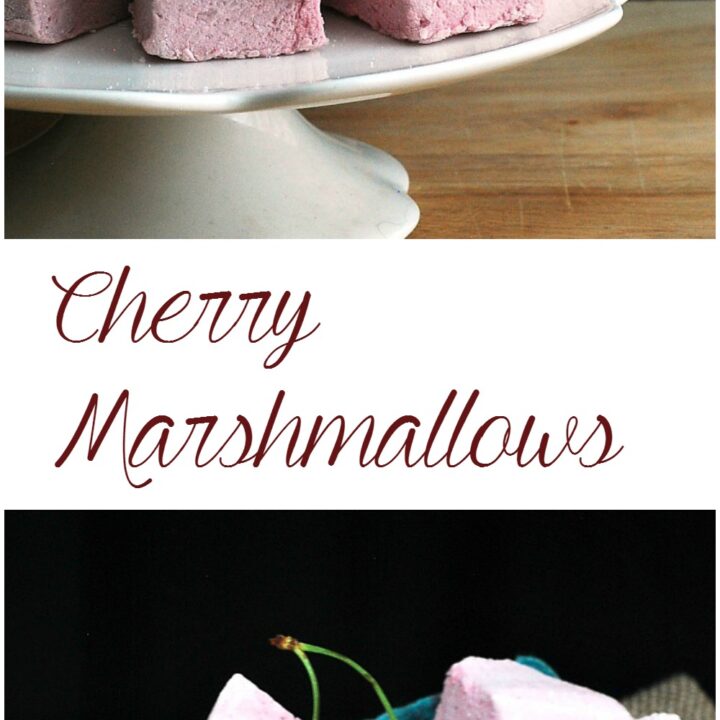
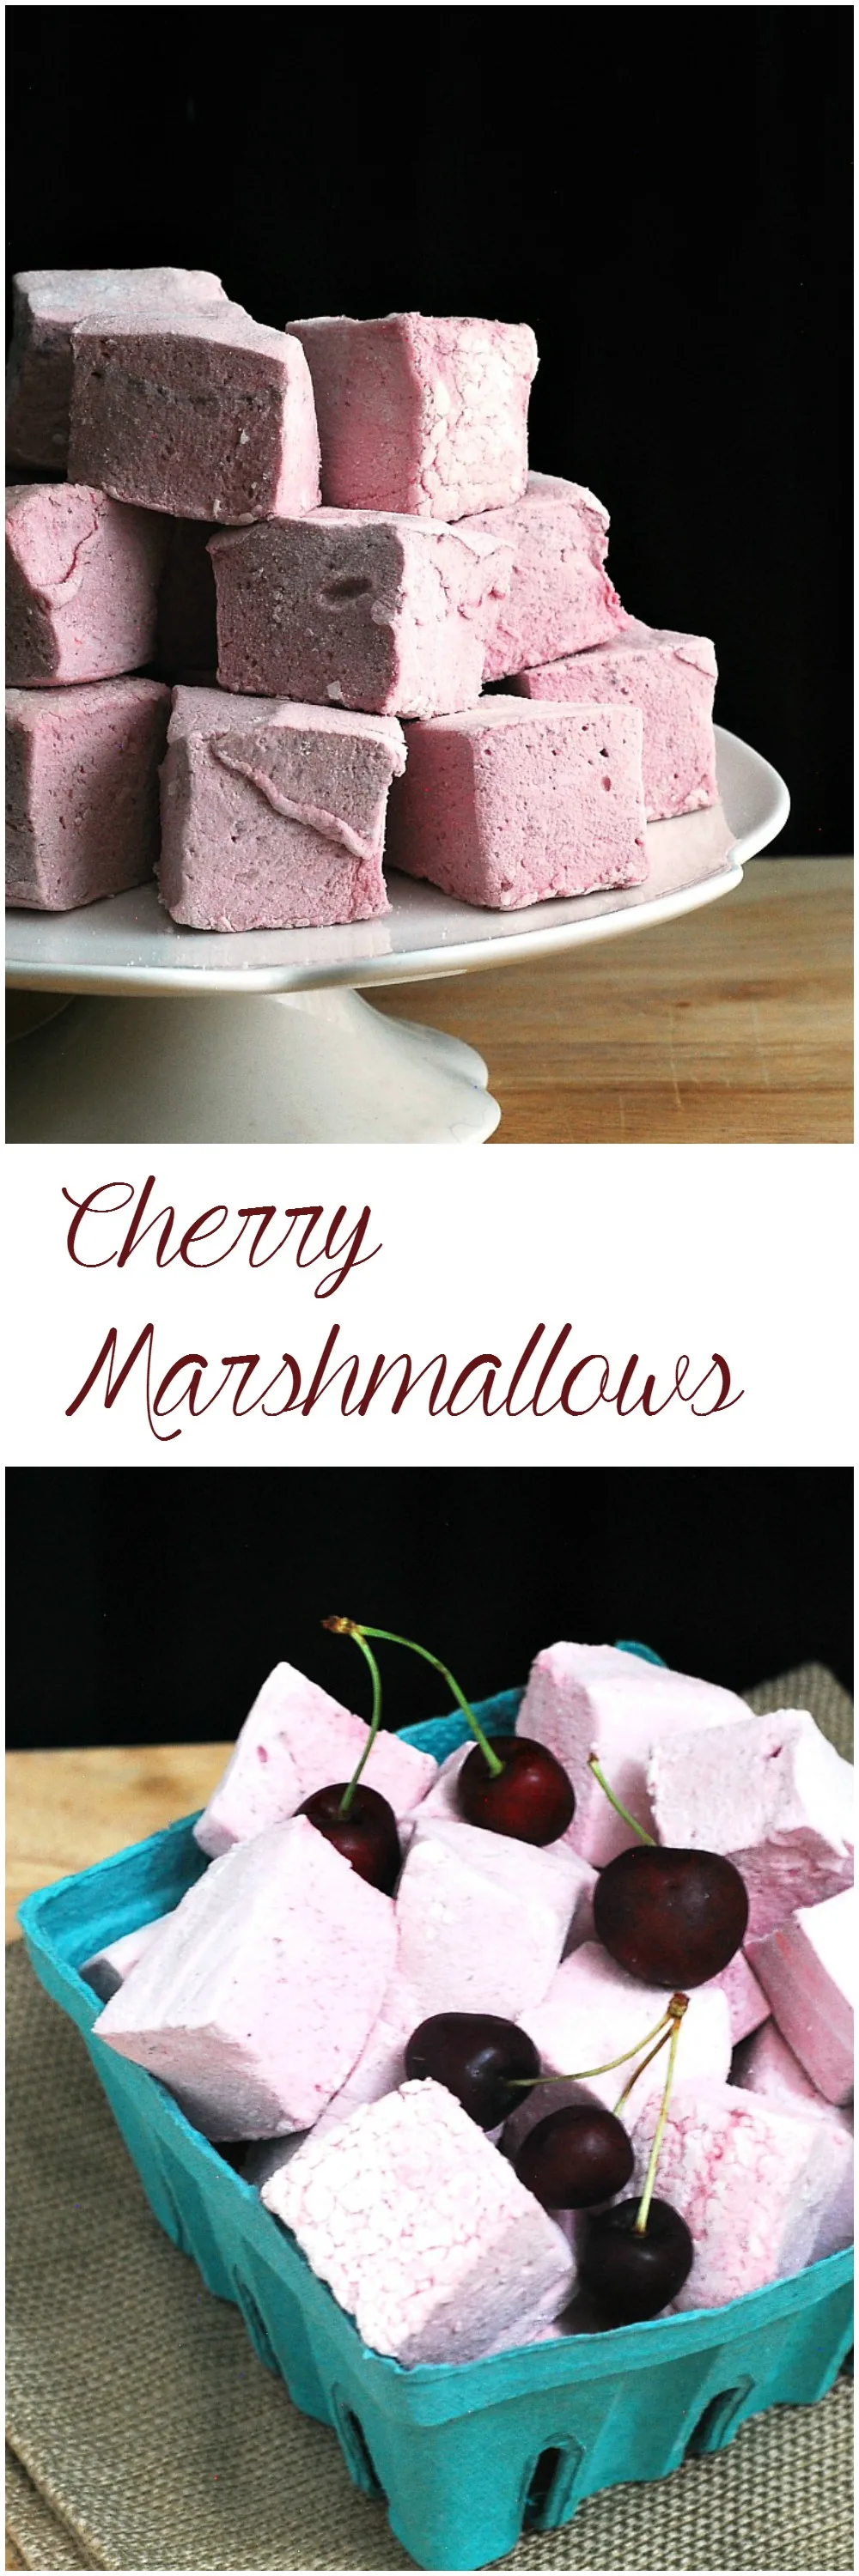
Homemade marshmallows are head and shoulders above store-bought. Fresh sweet cherry puree adds beautiful color and flavor to these marshmallows.

Marshmallows. Pillowy puffs of sugary deliciousness. Is there any dessert that's as fun as marshmallow?
Back in February, I was chatting on Twitter with Betsy from Desserts Required about flavored marshmallows. I was reminiscing about a culinary school class on making candy, including marshmallows. After making a batch of traditional vanilla marshmallows, we made a second batch in the flavor of our choosing. I made passionfruit. We also cut them into fun shapes.
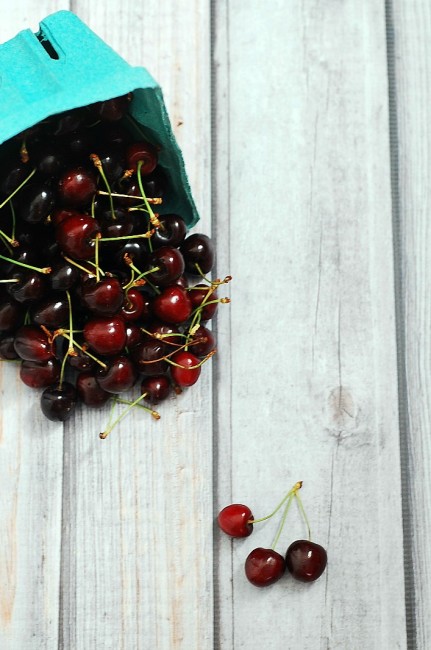

Since then, I've made festive peppermint marshmallows for Christmas, and I've been thinking about making a fun summertime flavored marshmallow. Then I heard that sweet cherries were coming to the local farmers market, and I knew I wanted to try cherry marshmallows.
It's very easy to add flavors to marshmallows. In a traditional marshmallow recipe, you bloom the gelatin in cold water. To flavor marshmallows with fruit, simply use fruit juice, or for stronger flavor, fruit puree. This also adds pretty color to your marshmallows. It's often a paler shade than the typical color of the fruit, so I gave these marshmallows a boost with gel food coloring.

Marshmallows are not difficult to make, technique-wise. A candy thermometer or deep-fry thermometer is required, however. If the sugar-water mixture doesn't reach the appropriate temperature (or goes too far over it), your marshmallows will not set up properly. They are inexpensive, available at most stores with a kitchen-supply department, and a good thing to keep around the kitchen. I prefer the stainless steel one made by Taylor.
Making marshmallows at home is labor-intensive, VERY MESSY, and takes some time. However, the results are very, very worth it. (Seriously, this is a messy endeavor. Do not attempt these immediately after your fiancé just spent 2 hours cleaning the kitchen.) Once you take a bite of a homemade marshmallow, you will have a very hard time going back to store-bought.
Once these marshmallows have set up, they are delicious when dipped in melted chocolate, used in homemade s'mores, or just eaten out of your hand!


Cherry Marshmallows
Ingredients
- 8 ounces fresh sweet cherries
- 1 cup water
- cup About 1 confectioners’ sugar
- 2 tablespoon + 2 ½ teaspoon unflavored gelatin, ⅞ of an ounce
- ½ cup cold water
- 2 cups granulated sugar
- ½ cup light corn syrup
- ¼ teaspoon salt
- 2 large egg whites
- 2 drops red food color, optional
- 1 drop blue food color, optional
- 2 teaspoon vanilla extract
- 1 teaspoon almond extract
Instructions
- Remove the pits and stems from the cherries, and place them in a medium saucepan. Add 1 cup of water, and set the pan over medium-high heat. Bring to a boil, then lower the heat to low and simmer for 20 minutes. Set aside to cool.
- Puree the contents of the saucepan in a blender or food processor, then strain into a fine-mesh sieve set over a medium bowl. Measure out ½ a cup of cherry puree and place in the refrigerator to chill. Reserve the rest (if any) for another recipe, or discard.
- Brush the bottom and sides of a 9x13 baking pan with a thin coat of vegetable oil or nonstick cooking spray. Sift a layer of confectioners sugar over the oil. Set the pan aside.
- Place the chilled cherry puree in the bottom of the bowl of a stand mixer. Sprinkle the gelatin over the puree, and stir with a whisk so that all of the gelatin is moistened. Set aside.
- Place the cold water, granulated sugar, corn syrup and salt in a 3- or 4-quart heavy-bottom saucepan. Attach a candy thermometer to the side. Set the saucepan on the stovetop over medium-high heat, and stir with a wooden spoon until the sugar dissolves (around 160 degrees on the thermometer). Continue cooking without stirring until the temperature reaches 240 degrees. Immediately remove the sugar mixture from the stovetop and pour over the cherry/gelatin mixture. Stir with a whisk until all of the now-solid gelatin melts.
- Place the mixing bowl on the stand mixer. Using the whisk attachment, beat the mixture on medium-high speed until tripled in volume and light in color, about 12 minutes.
- While the sugar mixture is whipping, place the egg whites in a clean, dry bowl. Using a whisk or a hand-held mixer, beat the whites just until they form stiff peaks (peaks that don't fall over).
- Once the sugar mixture is done whipping, add the whipped egg whites to the stand mixer bowl. If you are using the food coloring, add them now. Whip the whites with the sugar mixture until fully incorporated.
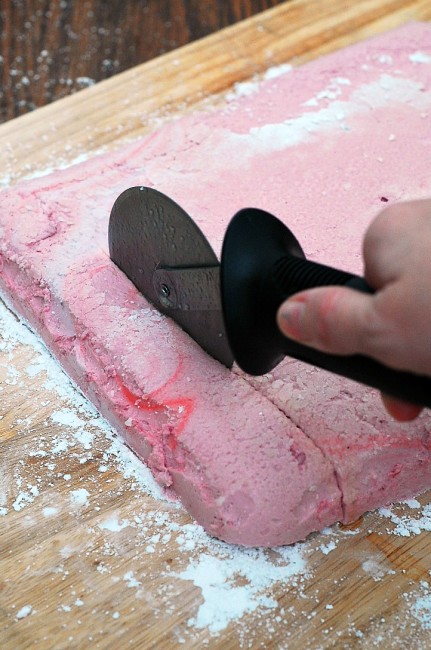
- Use a nonstick silicone spatula to scrape the mixture into the prepared pan. The mixture is thick and sticky, so don't go crazy trying to get every last drop. Smooth out the top as much as you can. Sift a light layer of confectioners sugar over top of the marshmallow. Leave the baking pan uncovered and let sit at room temperature for at least four hours, or up to overnight, to allow the marshmallow to set. It is ready to cut when you touch the surface and it doesn't stick to your finger.
- Run a thin knife around the edge of the marshmallow where it meets the pan. Invert the sheet of marshmallow onto a cutting board. Cut the sheet into 1-inch cubes. Sift more confectioners sugar into the 9x13 baking pan. Roll the marshmallows in the sugar on all sides. Shake off any excess and place the marshmallows in a plastic zip-top bag or airtight storage container for up to 1 week.
Adapted from Smitten Kitchen

Ceeceee
Friday 14th of March 2025
Not cimfortable to use corn syrup as it is so unhealthy. What could be substituted?
Coleen
Thursday 3rd of July 2025
Corn syrup is not inherently unhealthier than any other sweetener.
Cherry Marshmallows - Yum Goggle
Sunday 23rd of August 2015
[…] GET THE RECIPE […]
7 Desserts You Need To Make/Bake During Cherry Season
Thursday 9th of July 2015
[…] Read more at: The Redhead Baker […]
Heghineh
Saturday 4th of July 2015
This looks so delicious! Love your food photography and details, really helps, thank you so much for sharing