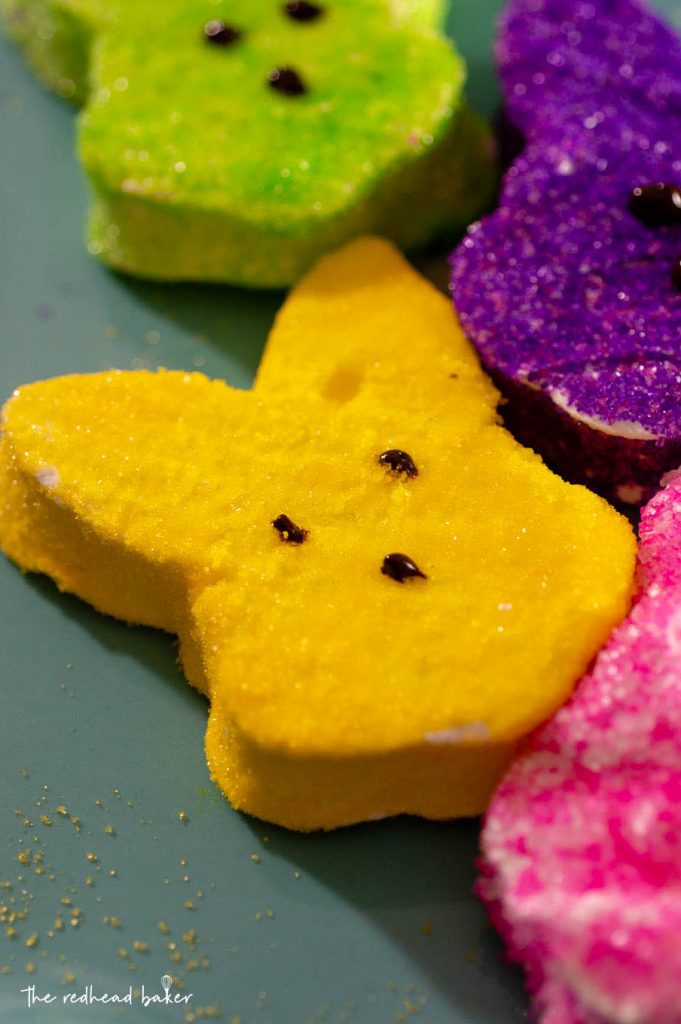
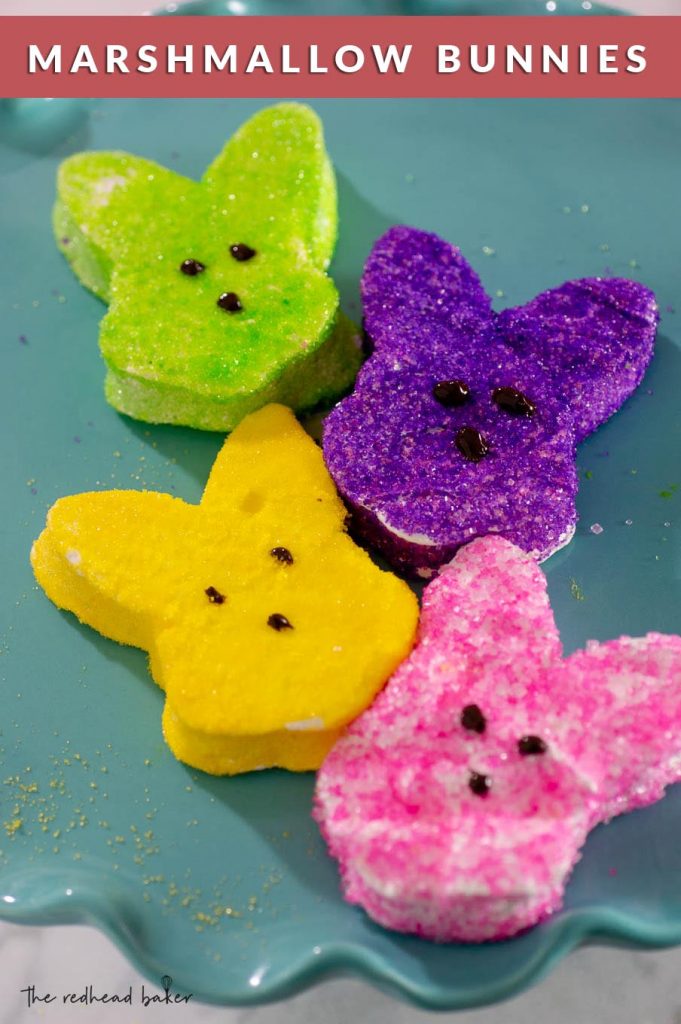
If you think you don't like those ubiquitous Easter bunny (and chick) marshmallows, make your own at home! It's messy, but the flavor is so much better!
This time of year, there's a certain brand that's everywhere. You know what I'm talking about — those little packages of sugar-coated marshmallow bunnies and chicks
Ready for a secret? I don't like them.

I don't know why. I love marshmallows. I even get the "marshmallow lovers" version of hot cocoa packets at the grocery store. Some of my favorite cereals are the kiddie kinds with the marshmallows in them!
My mom would buy packages of them for my brother and I for our Easter baskets. I'd give them to him, and he'd give me his Cadbury caramel eggs. ::drool::


So, I decided to make my own. I will take homemade marshmallows over store-bought (of any kind) any day. I first made marshmallows in my candy class in culinary school. It was fun! It was messy, but come to think of it, that was part of the fun.
As you'll see in the video I made, fresh marshmallow is sticky. You can spray your spatula with half a can of nonstick spray, and it will still stick. If you're like me with other recipes, and you try to scrape every bit of batter out of the mixing bowl, do not even attempt it with marshmallow. Not gonna happen.
The good news is, fresh marshmallow is mostly sugar and water, so washing up is easy. Everything just melts away when rinsed under hot water.

And don't toss those scraps after cutting out your marshmallows. Cut them into bite-size pieces, toss them in more of your confectioners sugar/cornstarch mixture and store them in an airtight container at room temperature.


Easter Bunny Marshmallows
Make your own sugar-coated bunny marshmallows at home with this foolproof recipe! They taste even better than store-bought.
Ingredients
- 3 packages unflavored gelatin
- 1 cup ice-cold water, divided
- 12 ounces white sugar
- 1 cup light corn syrup
- ¼ teaspoon kosher salt
- 1 teaspoon vanilla extract
- ¼ cup confectioners’ sugar
- ¼ cup cornstarch
- Additional water for spritzing
- Colored sanding sugar
- 2 tablespoon semisweet chocolate chips, melted
Instructions
- Place the gelatin into the bowl of a stand mixer along with ½ cup of the water. Have the whisk attachment standing by.
- In a small saucepan combine the remaining ½ cup water, granulated sugar, corn syrup and salt. Place over medium high heat, cover and allow to cook for 3 to 4 minutes. Uncover, clip a candy thermometer onto the side of the pan and continue to cook until the mixture reaches 240 degrees F, approximately 7 to 8 minutes. Once the mixture reaches this temperature, immediately remove from the heat.
- Turn the mixer on low speed and, while running, slowly pour the sugar syrup down the side of the bowl into the gelatin mixture, avoiding the whisk attachment if possible. Once you have added all of the syrup, increase the speed to high. Continue to whip until the mixture becomes very thick and is lukewarm, approximately 12 to 15 minutes. Add the vanilla during the last minute of whipping. While the mixture is whipping prepare the pans as follows.
- Combine the confectioners' sugar and cornstarch in a small bowl. Lightly spray a 13 by 9-inch metal baking pan with nonstick cooking spray. Add the sugar and cornstarch mixture and move around to completely coat the bottom and sides of the pan. Return the remaining mixture to the bowl for later use.
- When ready, pour the mixture into the prepared pan, using a lightly oiled spatula for spreading evenly into the pan. Dust the top with enough of the remaining sugar and cornstarch mixture to lightly cover. Reserve the rest for later. Allow the marshmallows to sit uncovered for at least 4 hours and up to overnight.
- Turn the marshmallows out onto a cutting board. Dip your bunny cookie cutter all the way into the confectioners sugar/cornstarch mixer and use it to cut bunny shapes in your sheet of marshmallow, re-coating the cutter frequently.
- Place the sanding sugar in a quart-sized zip-top bag. Lightly spritz a few bunnies at a time with water, then seal in the bag with the sanding sugar. Shake to coat. Repeat until all marshmallows are coated.
- Melt the chocolate chips in a microwave-safe bowl. Pour into a small piping bag. Snip a very small bit off of the pointed end, and pipe two small eyes on each bunny. Let sit at room temperature until set.
- Store the marshmallows in an airtight container for up to 3 weeks.
Notes
Recommended Products
As an Amazon Associate and member of other affiliate programs, I earn a small percentage from qualifying purchases.
-
 Candy/Jelly/Deep Fry Thermometer Stainless Steel
 -
 KitchenAid 6 Qt. Professional Bowl-Lift Stand Mixer
 -
 Glass Spray Bottle - Empty Refillable 16 oz Bottle
 -
 Cuisinart Set of 3 Fine Mesh Stainless Steel Strainers
 -
 CK Products 4 Ounce Sanding Sugar Bottle, Pink
 -
 Ann Clark Cookie Cutters 3-Piece Easter Cookie Cutter Set
Nutrition Information:
Yield: 12 Serving Size: 1 marshmallowAmount Per Serving: Calories: 244Total Fat: 1gSaturated Fat: 0gTrans Fat: 0gUnsaturated Fat: 0gCholesterol: 0mgSodium: 82mgCarbohydrates: 56gFiber: 0gSugar: 54gProtein: 6g
I am not a certified nutritionist. This nutrition information is automatically calculated by third party software and is meant as a guideline only.
You might also like
- Cherry Marshmallows by The Redhead Baker
- Easter Candy Cookies by Life's Ambrosia
- Easter Egg Buttercream Candies by Sally's Baking Addiction
- Easter Egg Marshmallow Truffles by Taste and Tell
- Easter Fudge by Shugary Sweets