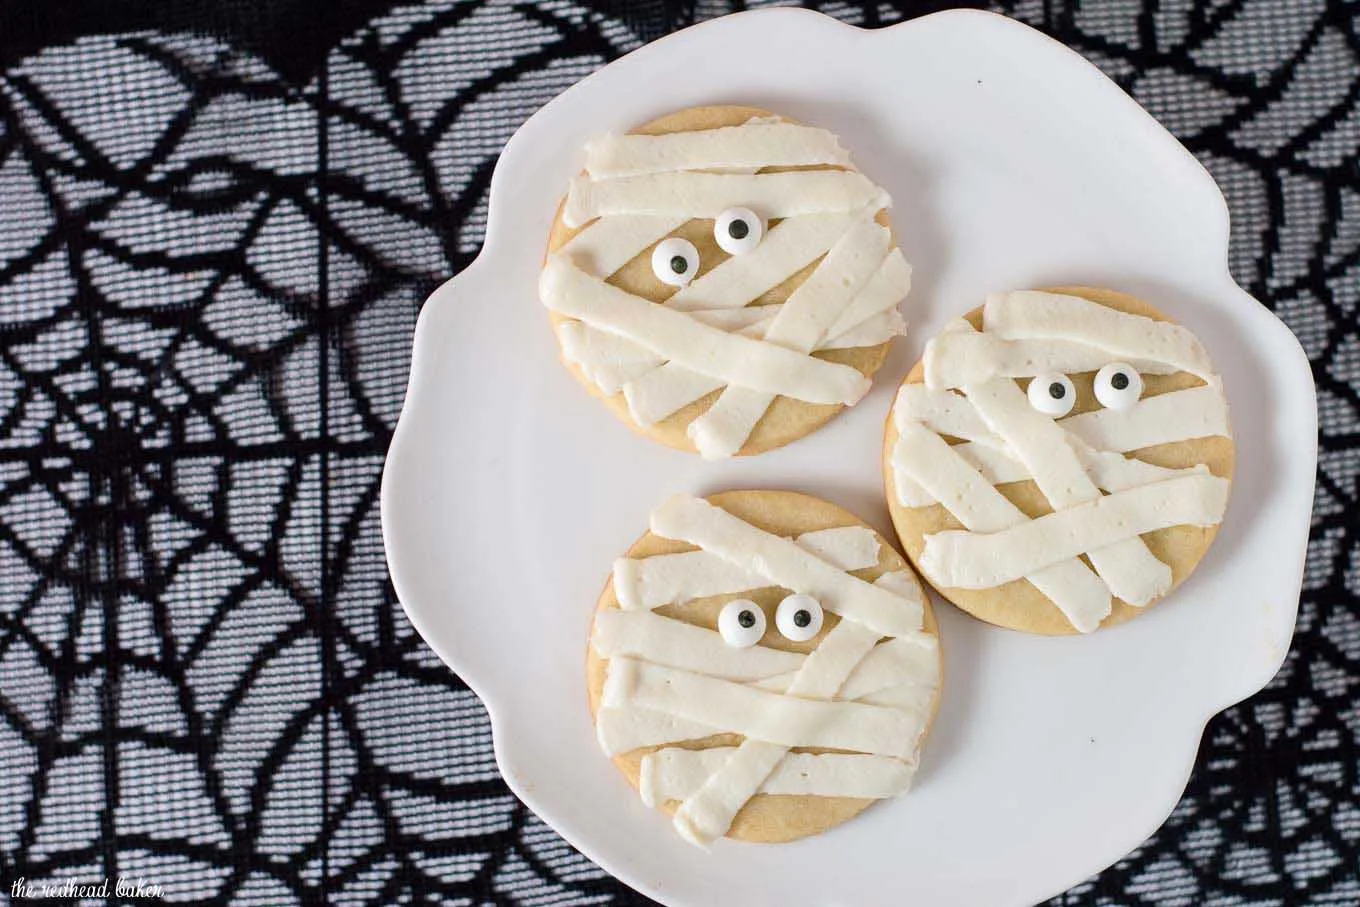
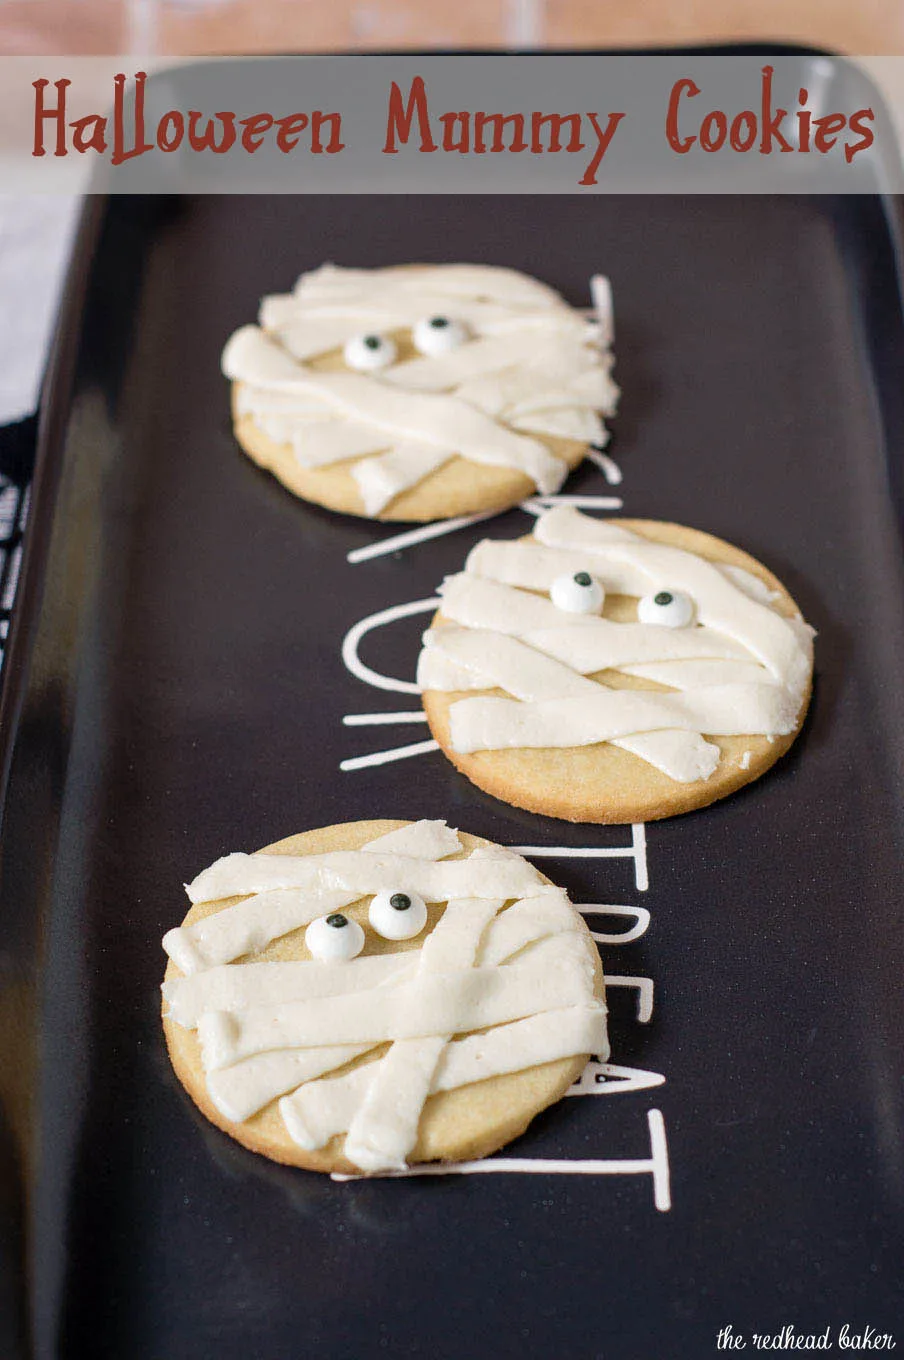
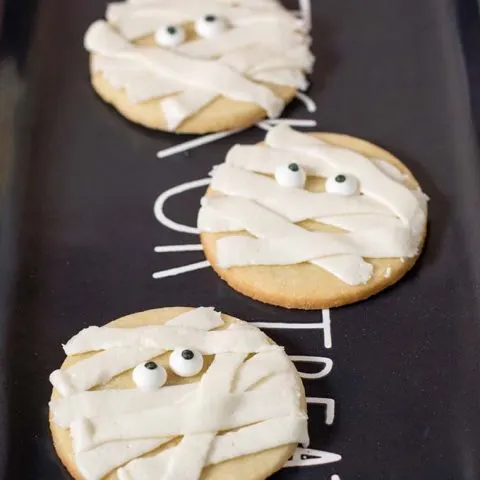
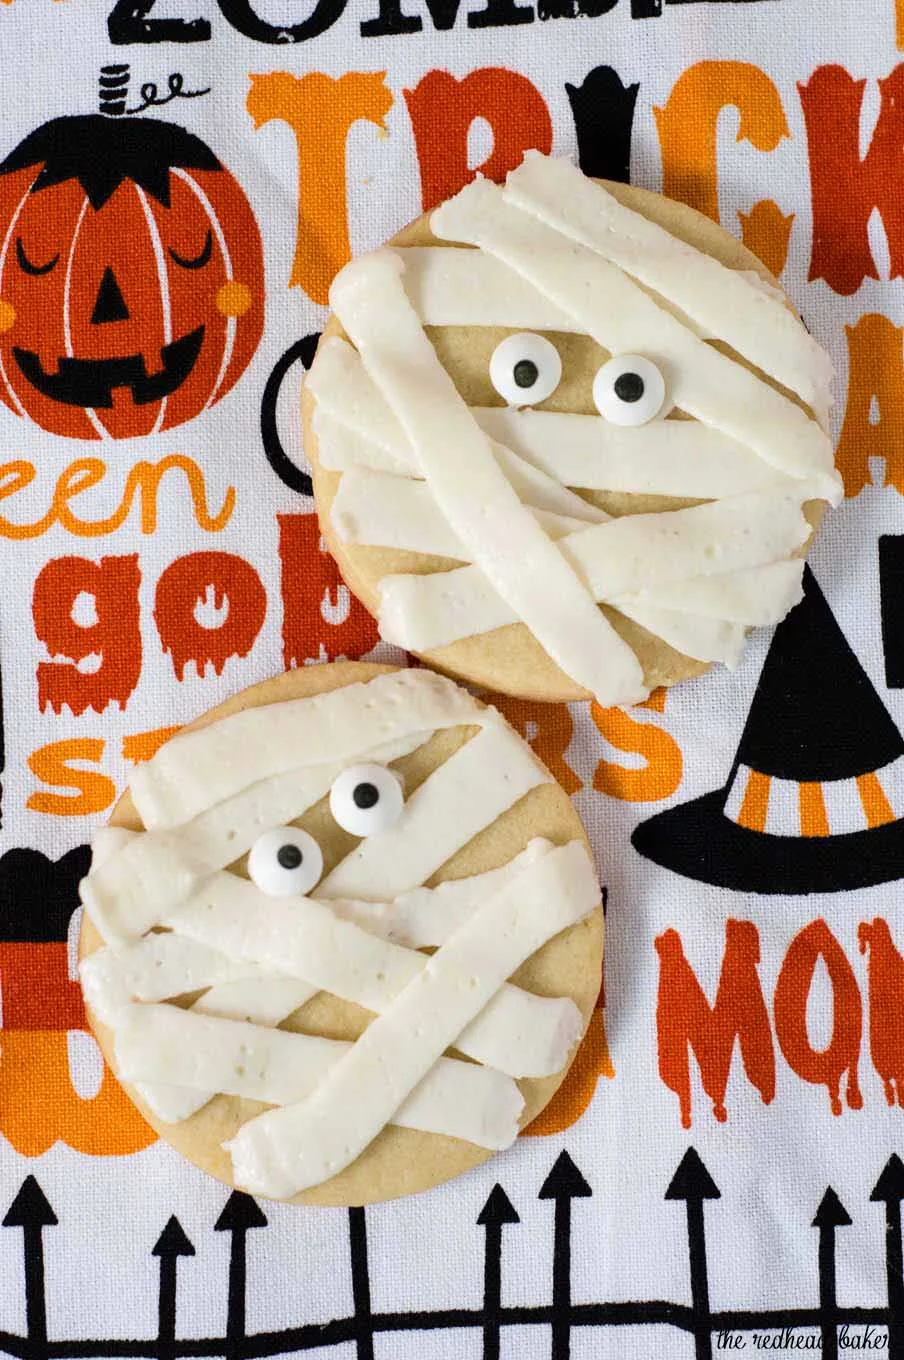
Scare up some easy Halloween treats — make these spooky mummy cookies. Simply pipe a few lines of frosting onto round sugar cookies, add candy eyes and you're done!
Disclosure: this post contains affiliate links. When you make a purchase through an affiliate link, I receive a small portion of the sale.
Welcome to Progressive Eats, our virtual version of a Progressive Dinner Party. Our menu this month features a cocktail, appetizers and Desserts for a Spooktacular Halloween Party. Hosting this month is Ansh from Spiceroots.
I chose these Mummy Cookies because they are so easy. I use a sugar cookie recipe from a fellow food blogger that's tried-and-true (I've used it several times myself) that requires no chilling, yet keeps its shape while baking. Then whip up a quick frosting, pipe a few swipes across the cookie, add eyes and you've got yourself a spooky Halloween treat!
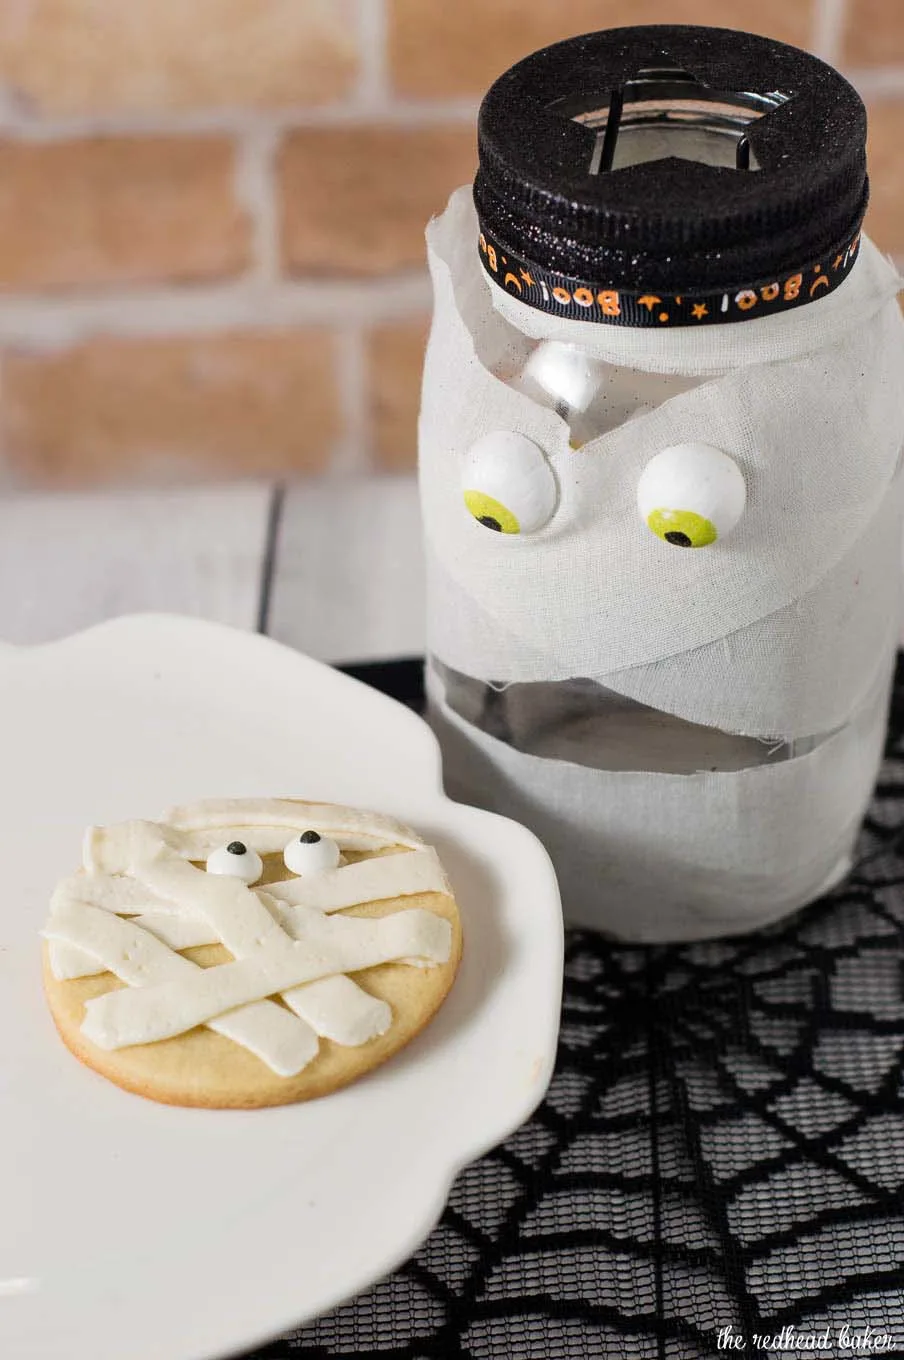
The cookie base doesn't have to be the recipe I've shared below. If you have a favorite sugar cookie, or butter cookie, or any kind of cut-out cookie recipe, feel free to use it! If you want smaller cookies, use a smaller round cookie cutter. If your cookies will be 2 inches across or smaller, recommend going with the #44 piping tip, so that you're mummy wrappings don't look abnormally huge on your cookie.
These candy eyes can be found around Halloween in most major stores that have a baking section, including grocery stores, craft stores, etc. If not, you can order them online — I have links to all the supplies used to make these cookies.
I read in some online reviews that the blacks of the eyes ran when placed on buttercream (which this frosting is) a day ahead of the treat being served. Personally, I didn't have that problem. But if you want to be safe, don't apply the candy eyes until just before you serve them. The frosting can be stored right in the piping bag. Just pop it in the refrigerator if it will be more than a few hours until you apply the eyes. Bring the frosting to room temperature for easier use.
Spooktacular Halloween Party
Appetizers
- Spooky Breadstick Fingers from Mother Would Know
Drinks
- Black Magic Martini from Spiceroots
Desserts
- Meringue Ghost Cookies from Creative Culinary
- Mummy Cookies from The Redhead Baker (recipe above)
- Jack O'Lantern Apple Hand Pies from The Wimpy Vegetarian
- Halloween Spider Chocolate Chip Cookies from That Skinny Chick Can Bake
- Loch Ness Monster Pumpkin Strudel from Pastry Chef Online
Halloween Mummy Cookies
Ingredients
For the cookies
- 1 cup unsalted butter, softened
- 1 cup granulated sugar
- 1 teaspoon vanilla extract
- ½ teaspoon almond extract, optional
- 1 large egg
- 2 teaspoon baking powder
- 3 cups all purpose flour
For the icing
- 3 cups powdered sugar
- ⅓ cup unsalted butter, softened
- 1 ½ teaspoon vanilla extract
- 2 tablespoon milk
For decorating
- 48 mini candy eyeballs
Instructions
Make the cookies
- Preheat oven to 350° F.
- In the bowl of your mixer cream butter and sugar with the paddle attachment on medium speed until smooth, at least 3 minutes
- Beat in the vanilla and almond extracts and egg.
- In a separate bowl, stir together the baking powder with the flour and add a little at a time to the wet ingredients. The dough will be very stiff. If it becomes too stiff for your mixer turn out the dough onto a countertop surface. Wet your hands and finish off kneading the dough by hand.
- Do not chill the dough. Divide into two batches, and roll out onto a floured surface to roughly ¼-inch thickness and cut with a 3.5-inch round cookie cutter.
- Bake at 350 for 8-10 minutes. Let cool on the cookie sheet until firm enough to transfer to a cooling rack.
Make the frosting
- Mix the butter and powdered sugar in a medium bowl with an electric mixer on low speed.
- Stir in the vanilla and one tablespoon of milk. Once mixed, gradually beat in the remaining milk to make the frosting smooth and spreadable. If the frosting seems too thick, beat in additional milk a few drops at a time. If the frosting becomes too thin, beat in a small amount of powdered sugar.
Decorate the cookies
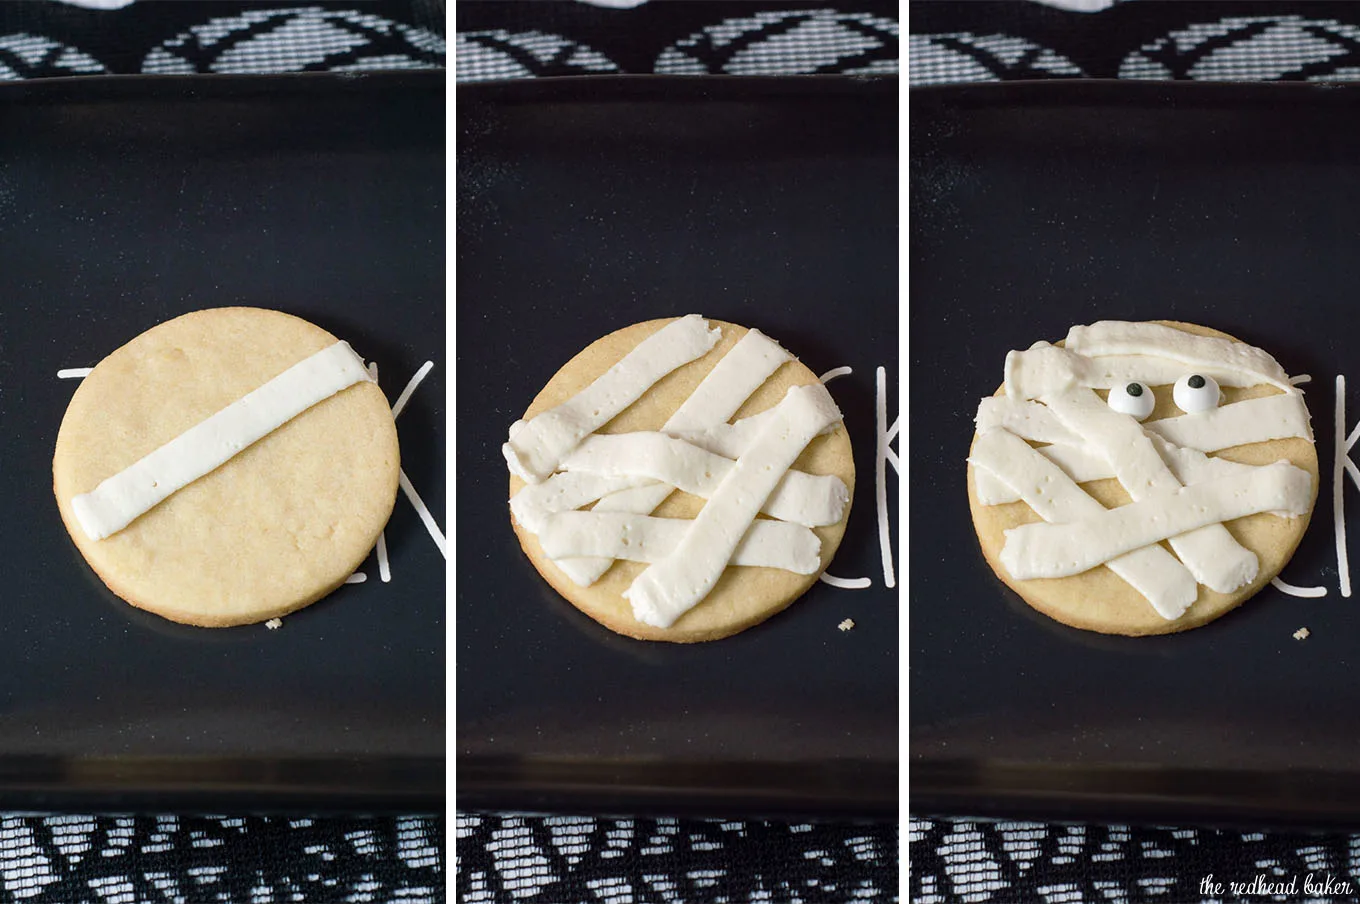
- Fit a Wilton #44 or #45 icing tip into a piping bag with a coupler. Fill halfway with frosting. Pipe strips of frosting across the cookie, slightly overlapping and at differing angles.
- Pipe a small dollop of frosting on the bottom of two candy eyeballs and attach them slightly above the very center of the cookie. Let the cookies sit at room temperature until the frosting sets.
Cookie recipe from In Katrina's Kitchen
[amazon_link asins='B002A8QOUU,B00DSNTT2Q,B0000CFMLT,B005BPU1P8' template='ProductCarousel' store='theredheadbak-20' marketplace='US' link_id='4b86fed4-bc16-11e7-ad02-31df9e100d60']
If you're unfamiliar with the concept, a progressive dinner involves going from house to house, enjoying a different course at each location. With Progressive Eats, a theme is chosen each month, members share recipes suitable for a delicious meal or party, and you can hop from blog to blog to check them out.

Jennifer Athina Arevalo
Sunday 30th of October 2022
Just made these for Halloween tomorrow, and everything about this recipe was SO EASY and so much fun to spend time doing! Thank you!!!! Bonus that they taste wonderful!
Laura@motherwouldknow
Tuesday 31st of October 2017
I might just have to take the eyes off of these cookies before I eat them. But eat them I will! What a creative way to jazz up sugar cookies for Halloween. Love them.
Wimpy Vegetarian
Tuesday 31st of October 2017
These are absolutely adorable. The 'bandages' are perfect for mummies.
Barbara | Creative Culinary
Tuesday 31st of October 2017
These are so simple and cute Coleen; your mummies and my ghosts would be great friends! I've done something similar...for someone without the intention of baking? I've used Nutter Butter Cookies and mummified them...their shape is sort of perfect although I like your flat bandages better than the drizzle I did...next time!
Jenni
Tuesday 31st of October 2017
These are so cute! I do love a good sugar cookies, too. Nom.