With these no-spread sugar cookies, you can serve delicious minion-inspired treats at your next family movie night! This shop has been compensated by Collective Bias, Inc. and its advertiser. All opinions are mine alone. #MinionsMovieNight #CollectiveBias

My 4-year-old is minion-obsessed. He was a minion for Halloween, and he had a minion-themed birthday party, complete with minion cupcakes, "pin the party on the minion," and a minion pinata. We wanted Minions ©2015 Universal Studios (all rights reserved) to be the first movie he saw in the theater, but he couldn't quietly sit still for the length of the movie at that point.
We've been waiting anxiously for the release of Minions on Blu-Ray and DVD. That day finally came on December 8, 2015. I picked it up the day it came out for our family movie night that weekend. I just couldn't wait until Christmas to watch it! We love family movie night. We get a pizza and some snacks, dim the lights, and gather on the couch together to watch a movie.
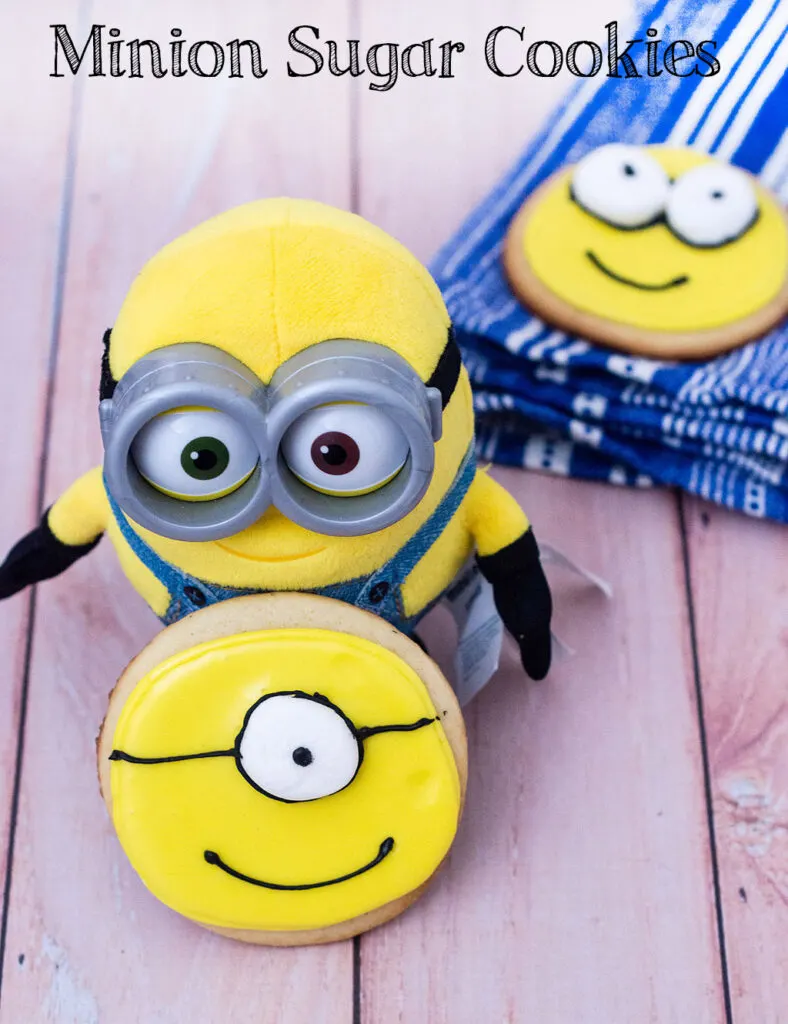
Illumination Entertainment, the animation film production company that is a subsidiary of Universal Studios and creator of the Despicable Me franchise, did not disappoint with this movie. Three generations of our family watched this movie together, and we were all laughing out loud. There's something for people of all ages to enjoy. The movie is rated PG for some of the action scenes and "rude humor," but I had no issues with allowing my 4-year-old to watch the movie.
If you enjoyed Despicable Me and/or Despicable Me 2, you need Minions in your movie collection. Head over to the Minions movie website to purchase your copy from your choice of retailers!
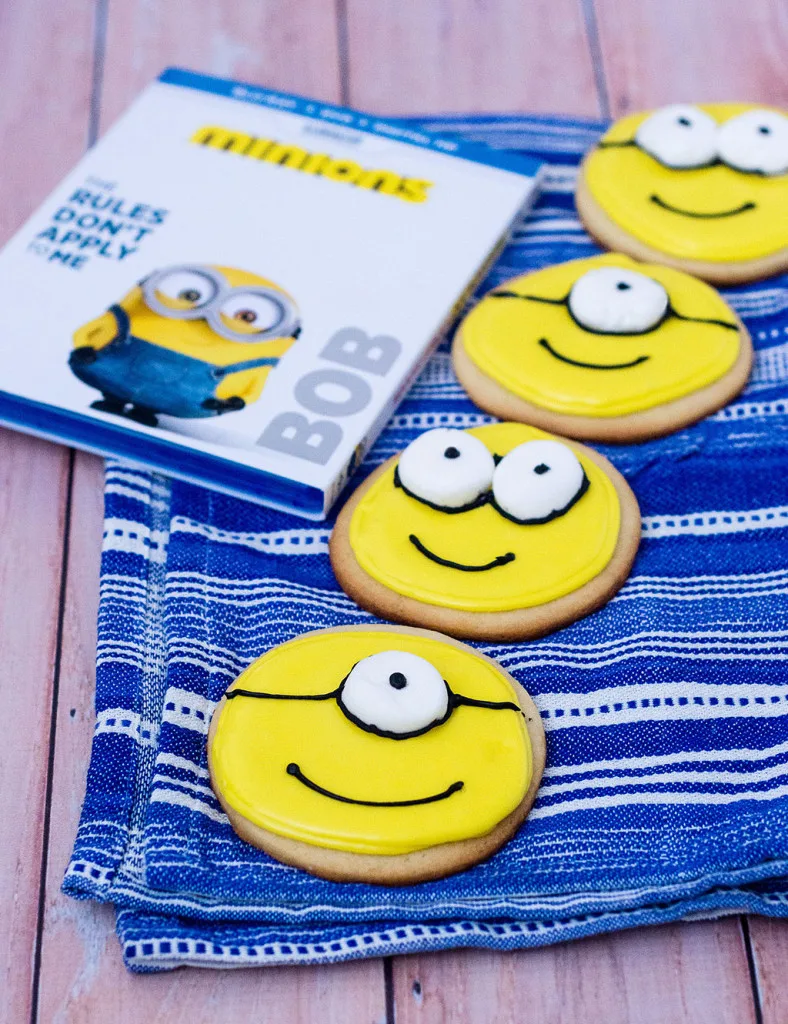
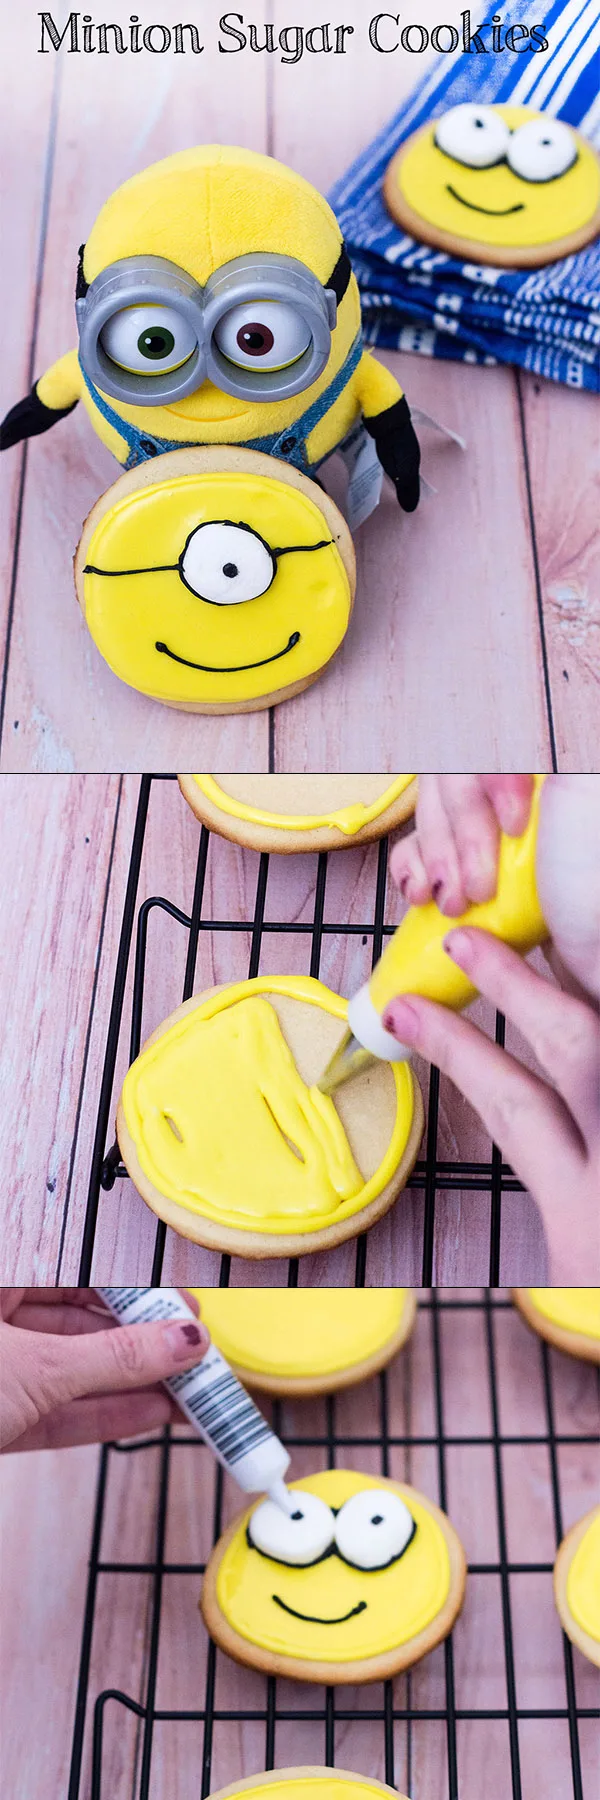
Collective Bias challenged bloggers to create a recipe inspired by the Minions movie. I chose to make sugar cookies in the likeness of the adorable little creatures. I found a sugar cookie recipe a few years ago that promised not to spread, and boy did it deliver! This dough is a dream to roll out, and the baked cookies are crisp around the edges and tender in the middle.
I'm not a fan of traditional icing for sugar cookies, also known as royal icing. I don't like the flavor or the hardness once it dries, and I don't like that it dries to a matte finish. The cookie icing below tastes great, stays somewhat pliable and dries shiny. There's also no need to separate eggs, or worry about vulnerable people (the young, pregnant or elderly) consuming raw eggs.
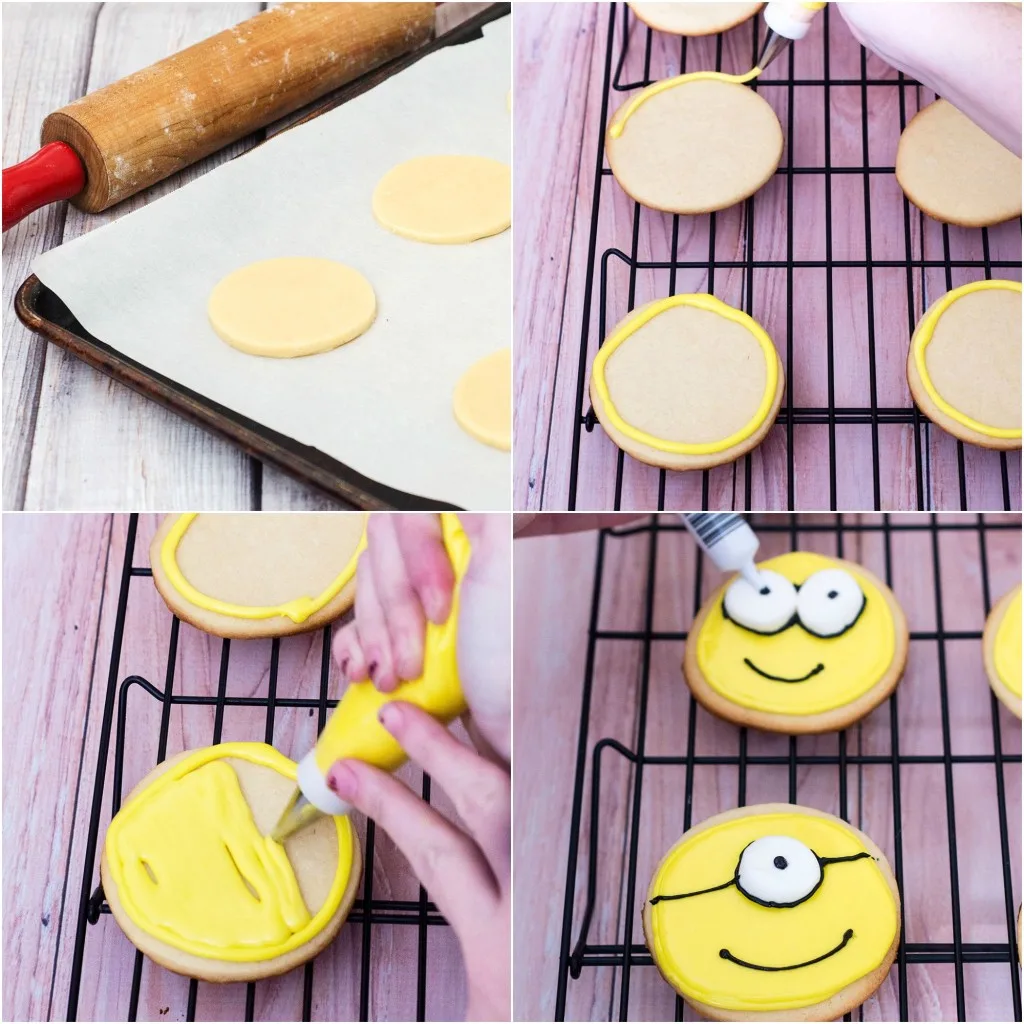
With a just a few simple tools, you can transfer plain round sugar cookies into adorable minions. Even if you're never piped decorations before, you can make these cookies. There's no difficult technique involved. The tools are inexpensive and available at any craft store. You'll need:
- A round cookie cutter, about 3 inches in diameter
- Yellow food coloring
- A decorating bag
- A large round tip (I like a #7 for this job)
- A 1-oz tube of "Icing Writer" in black
We had such a fun family movie night, watching Minions while munching on these cookies. My son had a blast helping me mix and roll out the dough, and cut out the sugar cookies. I hope you'll try these cookies for your own #MinionsMovieNight, or get inspiration from some of these other Minions-inspired snacks!
What's your family's favorite movie night snack?
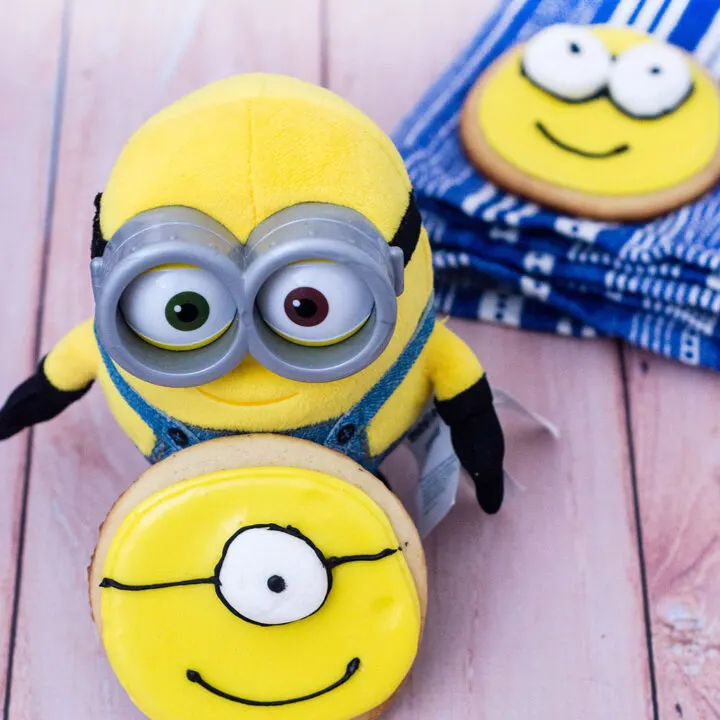
Minion Sugar Cookies #MinionsMovieNight
Ingredients
For the cookies:
- 1 cup unsalted butter, softened, 8 oz
- ¼ cup cream cheese, softened, 2 oz
- 1 cup sugar, 7 oz
- 1 large egg
- 1 teaspoon vanilla extract
- ½ teaspoon almond extract
- 1 teaspoon freshly grated lemon zest
- 3 cups all-purpose flour, 12 ¾ oz
- 1 ½ teaspoon baking powder
- ½ teaspoon salt
For the icing:
- 6 cups powdered sugar, 24 oz
- ¼ cup to ½ whole milk
- ¼ cup light corn syrup
- 2 teaspoon vanilla extract
For decorating:
- Standard size marshmallows
- Black icing writer gel
Instructions
- In the bowl of a stand mixer fitted with the paddle attachment, cream together the butter, cream cheese and sugar until light in color and fluffy. Scrape down the bowl, then beat in the egg, vanilla and almond extracts, and lemon zest.
- In a separate bowl, mix together the flour, baking powder, and salt. Add the dry ingredients to the butter and sugar mixture just until fully incorporated and a cohesive dough is formed.
- Scrape the dough onto a lightly floured surface and shape into a disc. Wrap tightly in plastic wrap and refrigerate at least one hour, or overnight.
- Preheat your oven to 350 degrees. Line a baking sheet with parchment paper.
- Remove the dough from the refrigerator and let stand at room temperature for 15 minutes. Lightly flour a clean flat surface, and roll the dough out to ¼-inch thickness. Use a 3-inch round cookie cutter to cut as many circles as possible, then transfer the circles to the prepared baking sheet.
- Bake cookies for 8 to 12 minutes. Let cool for 5 minutes on the cookie sheet, then remove to a wire rack to cool completely before icing. If not icing as soon as the cookies are cooled, store in an airtight container at room temperature.
- Make the icing: in the bowl of a stand mixer fitted with the whisk attachment, beat together the powdered sugar and ¼ cup of the milk, until a uniform thick paste is formed. Add a teaspoonful of milk at a time if needed to make the paste. Add the corn syrup and vanilla extract, and beat until uniform in consistency, and the thickness of toothpaste. Add a few drops of yellow food coloring and beat until the color is evenly distributed.
- Transfer about half a cupful of icing to a decorating bag fitted with a #7 plain round tip. Outline the edges of each cookie, then set aside to dry.
- Transfer any icing back into the mixing bowl. Add another tablespoonful of milk and beat until the icing becomes the consistency of corn syrup, adding more milk a teaspoonful at a time if needed to achieve the right thickness.
- Transfer the icing to the piping bag, filling no more than halfway, and flow the icing inside the outlines, using a toothpick to ensure icing completely fills the outline. Set cookies aside to dry.
- Decorate the cookies: once dry, cut one third off each end of a standard size marshmallow. Place cut-side-down on the cookies, slightly off center.
- Use the black icing writer to place dots for pupils in the center of each marshmallow, then outline around the base of the marshmallows to complete the goggles. Then pipe an arc below the goggles for the mouth. Set aside to dry.
- Store cookies in an airtight container with wax or parchment paper between the layers.
Cookie recipe adapted from King Arthur Flour

Michelle
Friday 18th of December 2015
Those cookies are so cute! I'm with you on royal icing. I definitely like my cookies to be soft and the icing, too! #client