Are you intimidated by baking bread? Unsure what terms like "proof" or "ferment" mean? This tutorial is for you! Try it out with the Italian bread recipe that's included.

A lot of home cooks and bakers are intimdated by the thought of baking bread. And I get it. The recipes are long. The terminology is confusing. It's not quite as scientific as baking a cake.
I'm writing this post with the purpose of breaking down those barriers. Baking bread can be fun! It can be satisfying! And you don't need any special appliances or tools to make it. I've been baking bread for 12 years, and I've never owned nor wanted to own a bread-maker.
Below is an introduction to the basics of bread, followed by my recipe for Italian bread, a very easy loaf for beginning bread bakers.

The Ingredients
The most basic bread recipe is simply flour, salt, yeast and water. You can add flavor with herbs, fruit, nuts, etc. You can change up the liquid. You can enrich the dough with eggs and/or butter. But we'll get into that later.
Flour. Some recipes will use all-purpose flour, the kind you probably already have in your pantry. Others will call for bread flour. Bread flour contains more protein than all-purpose flour, and will create more gluten, resulting in a denser, chewier bread. There are many other kinds of flour that can be used in bread-baking, but these two are the most common.
Salt. Unless a recipe specifies table salt, kosher salt is preferable to use in bread-baking. It has a purer flavor.
Yeast. The two types I'll talk about here are Active Dry Yeast and Instant Yeast. Both are available in the baking aisle at your local grocery store. Both come in packets about .25 oz in weight, and both appear to be fine, brown granules.
Active dry yeast needs to be "woken up" (also called "bloomed" or "proofed") in warm water before using in your recipe. Instant yeast requires warm water, too, but the yeast can be added straight to the dough (it's usually mixed in with the flour). Personally, I use instant yeast from Red Star.
Water. Tap water is fine. But if you're using active dry yeast, what exactly does "warm" mean? Usually, it means between 100 and 120 degrees Fahrenheit. Water that's too cold won't wake the yeast, and your bread won't rise; water that's too hot will kill it, and your bread won't rise.
Kneading
After the ingredients are combined, then comes the kneading. Most stand mixers and even some hand mixers come with dough hooks to do this for you. But kneading by hand can be so soothing. It's a rhythmic process, where you fold the dough over, then push it with the heel of your hand. Give it a quarter-turn, fold it over, and push it with the heel of your hand over. Over and over and over again. The downside of kneading by hand is that it can take up to 30 minutes, versus up to 10 minutes with a stand mixer's dough hook.
Why is bread kneaded? It serves a few purposes: first and foremost, it develops gluten. It also distributes ingredients and incorporates air.
How do you know when enough is enough? How much kneading is too much? What if the bread isn't kneaded enough?
Whether kneading by hand or with a mixer, you're looking for a dough that is smooth, elastic, and forms a ball. Not very helpful, huh?
First, try the poke test: gather your dough in a ball. Firmly poke a finger into the dough. If the indentation quickly fills back in, your dough is kneaded enough. If the indentation remains, it needs more kneading.
Try the windowpane test: tear off a golf-ball sized piece of dough. Take one side in each hand, using your thumb and pointer finger to hold the dough. Gently try to stretch the dough until the center becomes thin enough to almost see through. If you succeed, the dough is kneaded enough. If the dough rips, it needs to be kneaded a little longer.
Dough that's underkneaded won't hold it's shape very well during baking. It will sort of "puddle" in the oven if it's not in a loaf pan. The interior will be very dense. It may tear easily. But it's still edible!
On the other end of the spectrum: dough that's overkneaded. It's very close to impossible to overknead bread by hand. Your arms just get too tired! If you're kneading in a mixer, however, it is possible. If you take the dough out of the mixer and try to knead it a few times on the counter, and it feels very dense, and tough, it's probably overkneaded.
Overkneaded dough will also come out very dense and tear easily, because the overworked gluten has very little give. You can compensate for this by allowing the dough to rise longer than the recipes specifies, but this won't fully solve the problem. The baked bread will still likely end up with a dry, crumbly interior. On the bright side, it makes great homemade breadcrumbs!
Rising and Fermentation
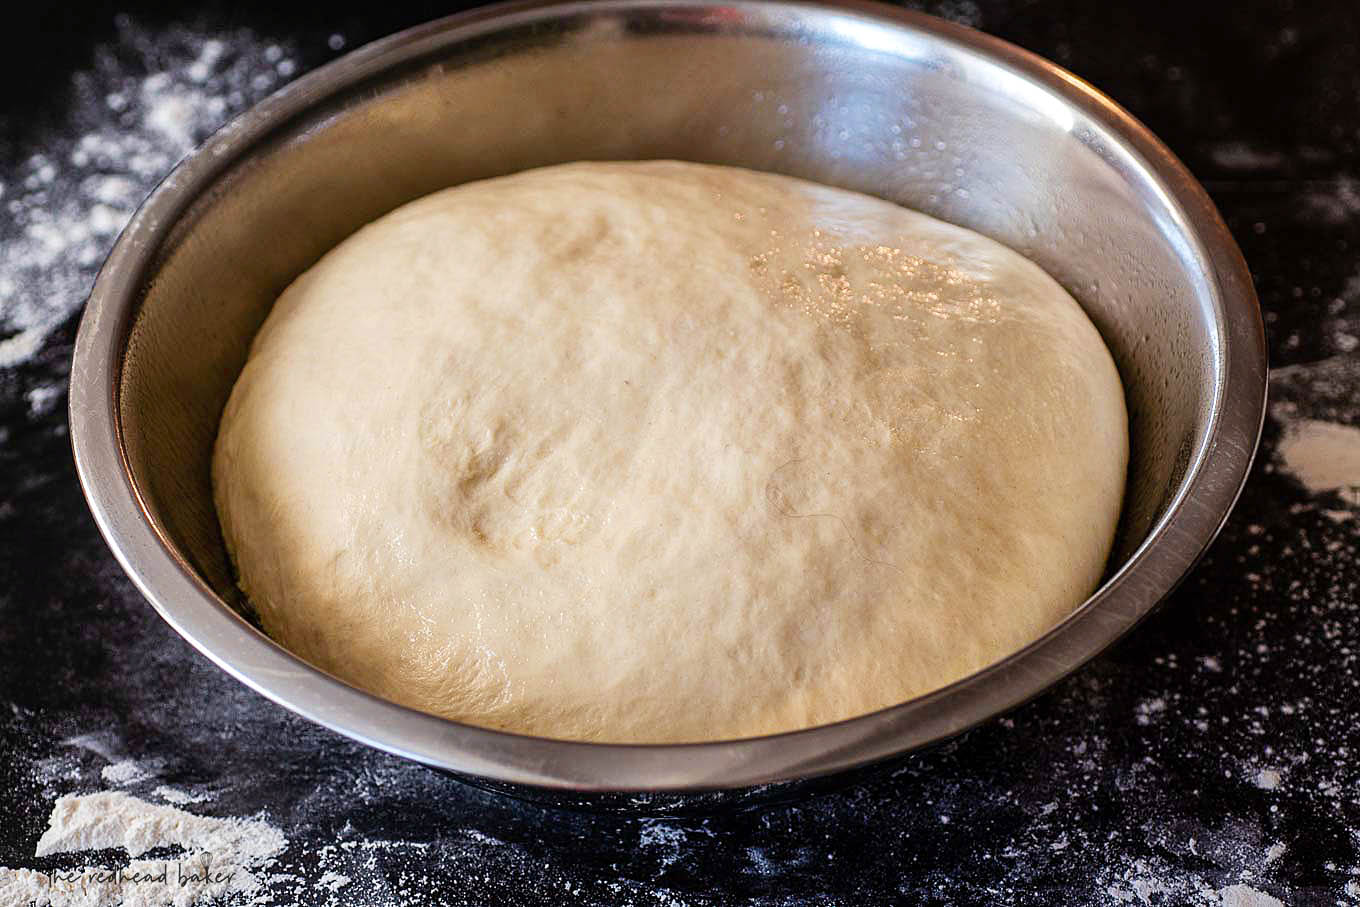
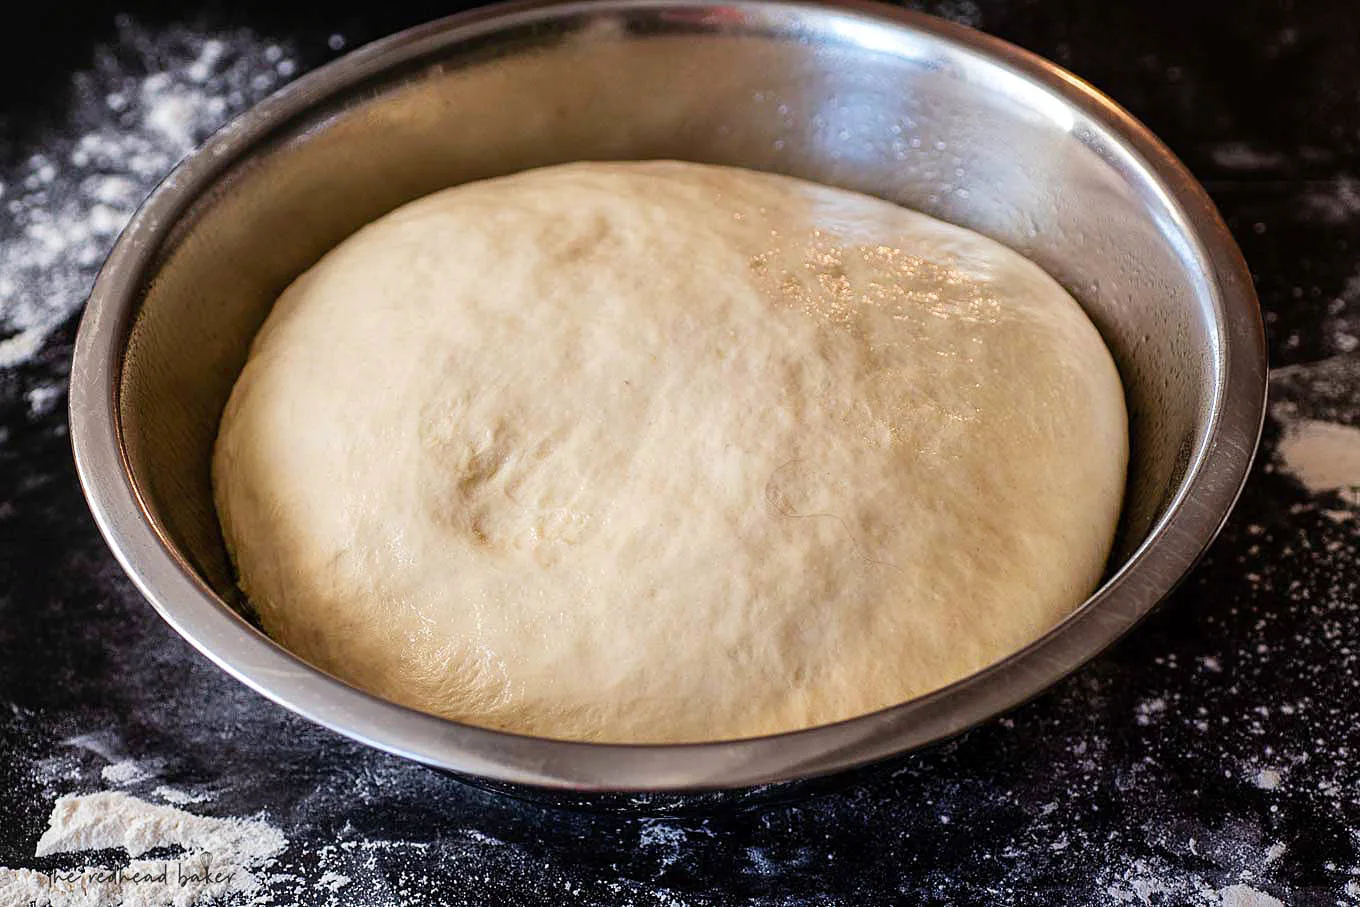
Next, the dough needs to rise. This rise, and the proofing stage discussed later, should take place in a warm, draft-free area. The gluten needs time to relax. Also, the yeast is feeding on the sugars in the flour and creating carbon dioxide bubbles that are trapped by the gluten structures, which causes the dough to increase in volume.
Fermentation happens during the rise. As the yeast feeds on the sugars and creates carbon dioxide, it also creates a type of alcohol called ethanol. Ethanol is was gives bread its flavor. The longer the rise/fermentation, the stronger the flavor.
Shaping the Bread
This is the step where the bread takes its final form. That could be a long roll (like a baguette), a boule (a circular loaf), a batard (a rounded oblong loaf, usually not baked in a loaf pan), a pan loaf, individual rolls, braids, and on and on.
Proofing
Once the dough is formed, it needs another rest. This step is called proofing (or proving). After being handled in the shaping process, the gluten needs more time to relax again, and gives the yeast time to produce more carbon dioxide and ethanol (tastier bread!).
Baking
Professional bakeries often have ovens with built-in steam injectors. This gives the bread a crisp, shiny crust. If you want (but this is totally optional), you can simulate this in your own oven a couple of ways.
A spray bottle. Fill a spray bottle with warm water. Spritz it on the bread just before baking, and once again about 5 minutes into the bake.
An oven-safe skillet. Place an oven-safe skillet in your oven during the preheat. After you've placed your bread in the oven, pour about a cupful of water into the preheated skillet. Since the skillet is hot, the water will evaporate right away and produce steam.
A note about steam: steam should only be added in the very beginning of bread-baking, called the "oven-spring" phase. This is the time when the bread rises quickly before the crust hardens. Once the crust hardens, moisture in the oven is actually a bad thing, because it can result in rubbery bread.
Another way to achieve a shiny crust is with an egg wash, which you may have seen me mention in many other bread and pastry recipes, such as brioche, pie, and empandas. Thoroughly whisk together an egg and a tablespoonful of water, then use a pastry brush to brush a thin layer on top of the bread just before baking.
This Italian bread is a great beginner recipe to try out what you've read. The recipe makes two loaves. If you're serving a meal to a large number of people, you can serve both. If not, you can wrap the second loaf in two layers of plastic wrap, write the name and date in Sharpie marker on a piece of masking tape, attach it to the bread, and freeze it for up to 3 months.

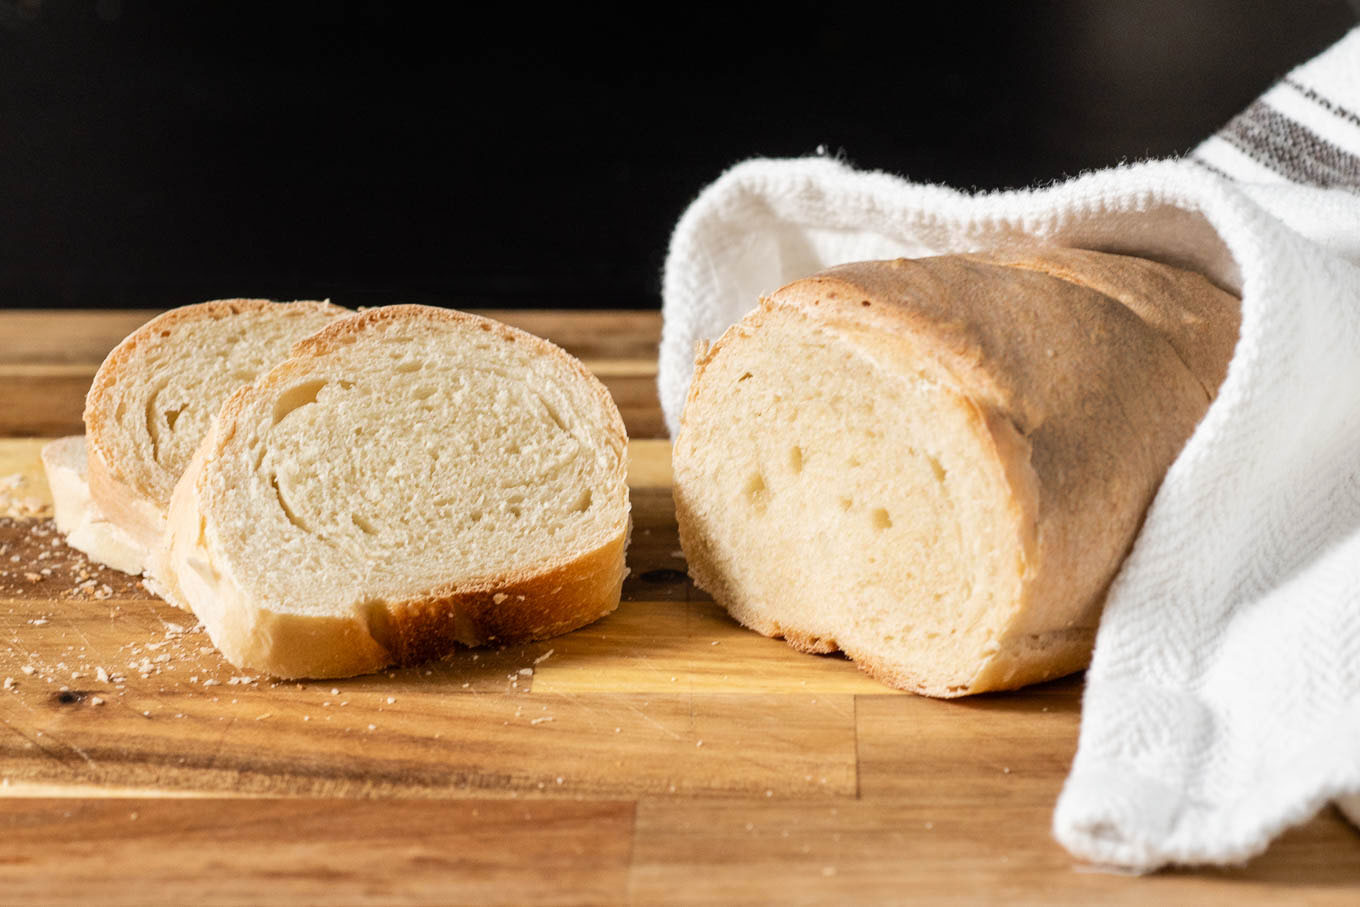
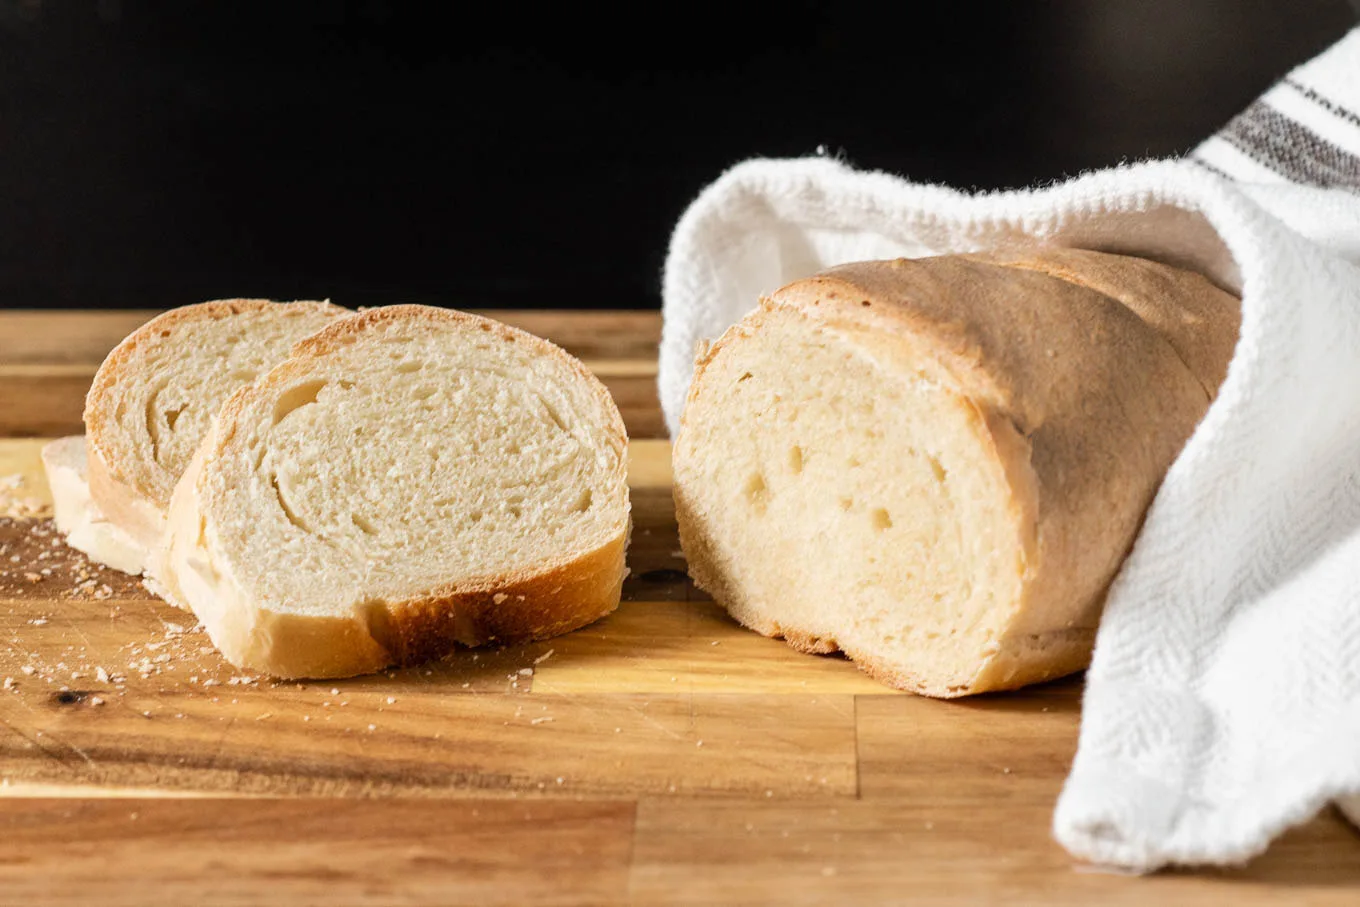
Italian Bread
Classic Italian bread is a great option for first-time bread makers. It has a crusty exterior and a soft interior, and great flavor to complement any Italian meal.
Ingredients
- 1 package (¼ ounce) instant yeast
- 2 cups warm water (120° to 125° F)
- 1 teaspoon sugar
- 2 teaspoon kosher salt
- 5 ½ cups all-purpose flour, divided, plus more for dusting
Instructions
- In the bowl of a stand mixer fitted with a paddle attachment, stir together 2 cups of the flour, the yeast, the sugar, the salt and the warm water on medium speed until all of the flour is moistened.
- Add 3 more cups of flour, 1 cup at a time, to the mixture, mixing on medium speed until the dough starts to clump around the paddle.
- Dust a clean work surface with flour. Scrape the dough onto the flour, and begin to knead, adding more flour ¼ of a cup at a time, if the dough starts to feel too sticky. Knead for about 8 to 10 minutes, until the dough is smooth and elastic, and slightly tacky.
- Spray a large bowl with nonstick spray. Gather the dough into a ball, and place in the bowl, and lightly mist the top with nonstick spray. Cover with plastic wrap, and set in a warm area to rise for an hour.
- Press the dough down, and divide in half. Shape each half into a tight log, pinching the seams to keep the dough in its shape.
- Line a baking sheet with parchment paper. Place both loaves on the baking sheet, and lightly cover with plastic wrap. Let sit in a warm area to proof for 30 minutes.
- While the dough is proofing, preheat the oven to 400 degrees F.
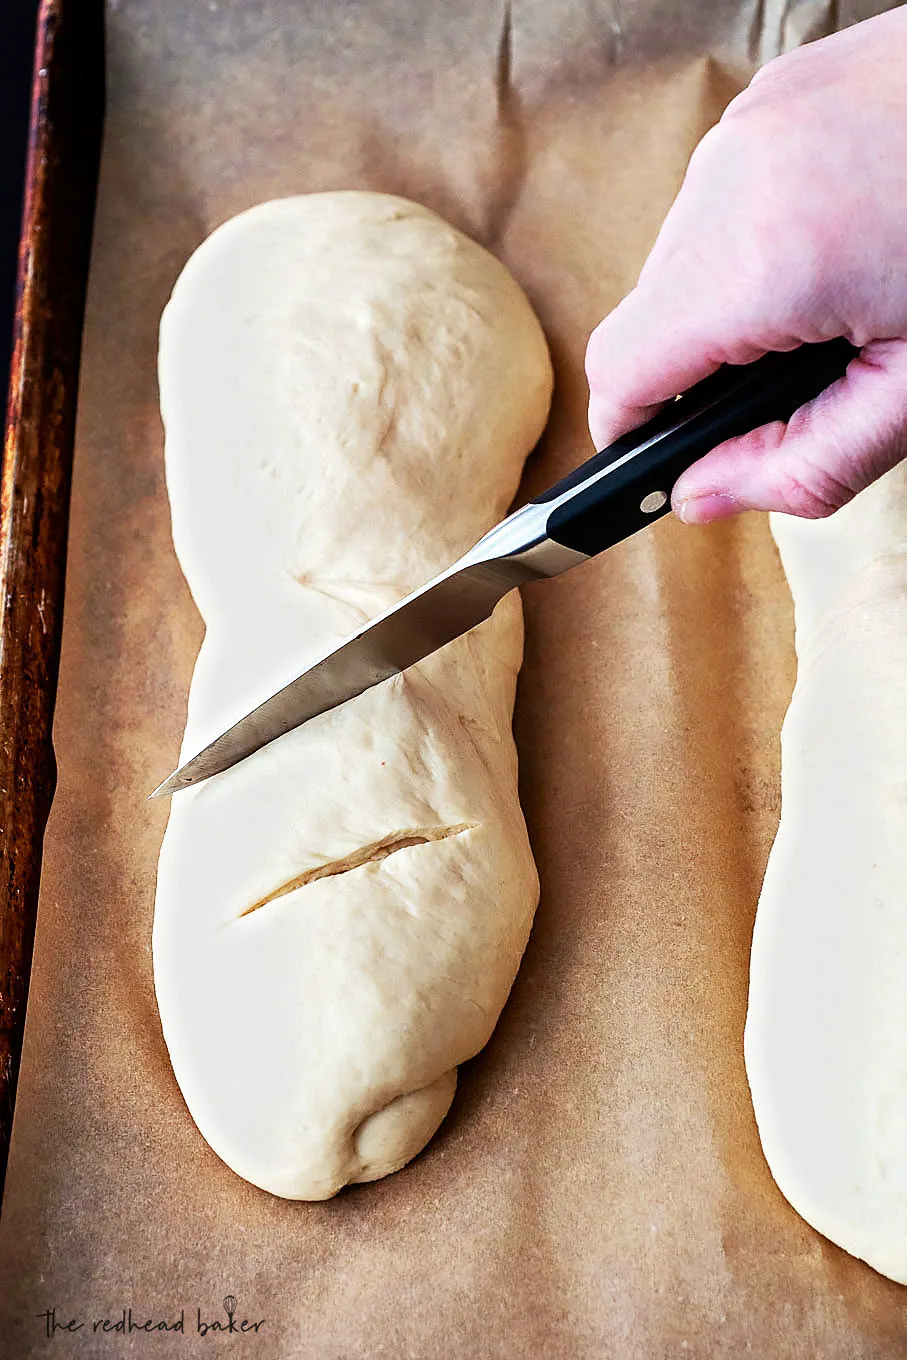
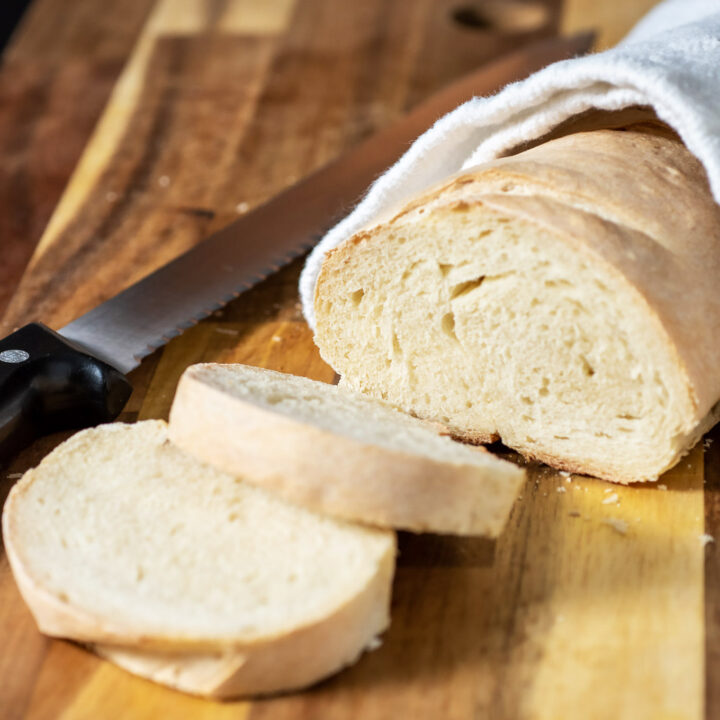
- Once the dough has fully proofed, remove the plastic wrap. Use a sharp knife to make 4 or 5 shallow cuts on a diagonal across the top of the bread. This is called "scoring" and controls how the bread expands during baking.
- Bake the bread for 25 to 30 minutes, until it is golden brown on top. Let cool at least 10 minutes before slicing.
Notes
The second loaf can be wrapped in two layers of plastic wrap and frozen for up to 3 months.
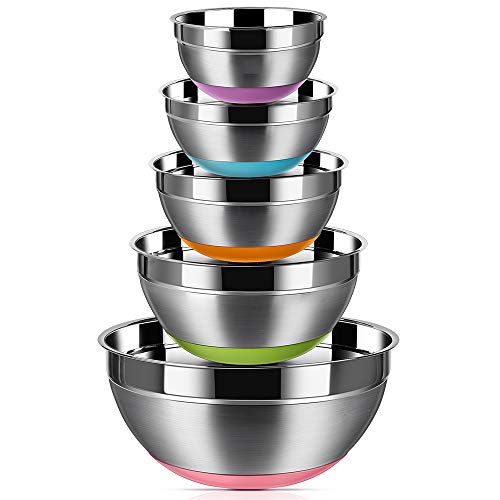
Recommended Products
As an Amazon Associate and member of other affiliate programs, I earn a small percentage from qualifying purchases.


Nutrition Information:
Yield: 32 Serving Size: 1Amount Per Serving: Calories: 29Total Fat: 0gSaturated Fat: 0gTrans Fat: 0gUnsaturated Fat: 0gCholesterol: 0mgSodium: 146mgCarbohydrates: 6gFiber: 0gSugar: 0gProtein: 1g
I am not a certified nutritionist. This nutrition information is automatically calculated by third party software and is meant as a guideline only.