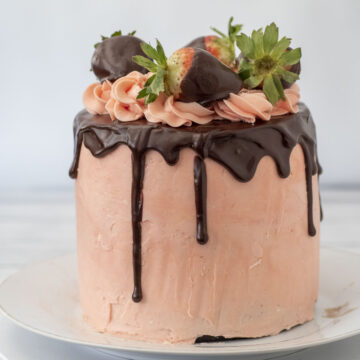
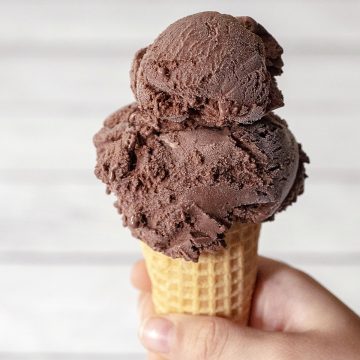
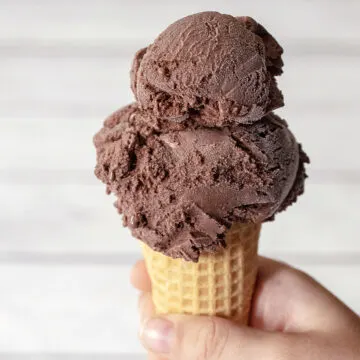
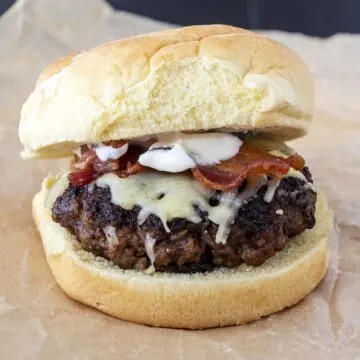
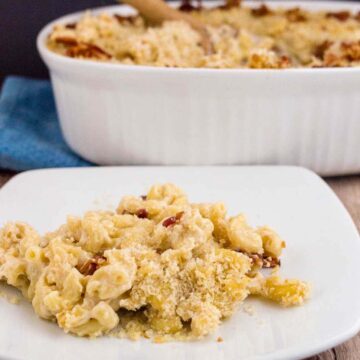
Trending Recipes


About the Author


Hi, I'm Coleen!
I started baking at an early age, and loved it. I started a career in graphic design, then enrolled in culinary school. I graduated with honors, and worked a few years in the baking industry, but eventually went back to graphic design and started this blog, where my goal is share the "why" behind the "how."


Irish Recipes

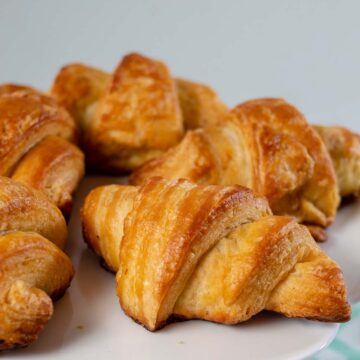
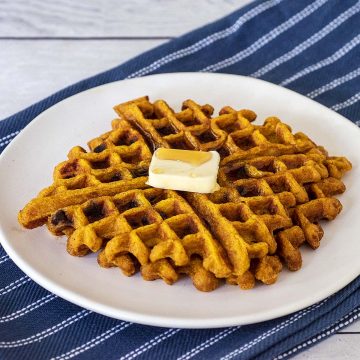
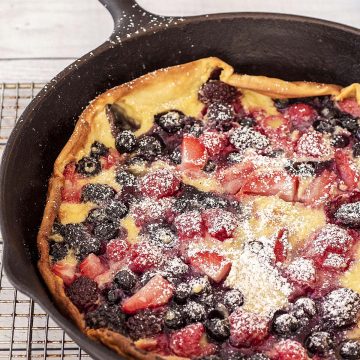
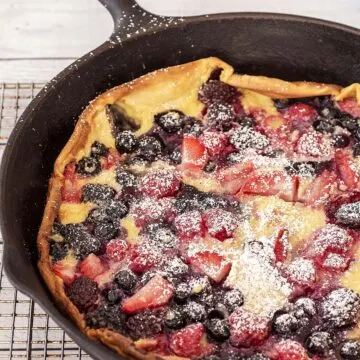
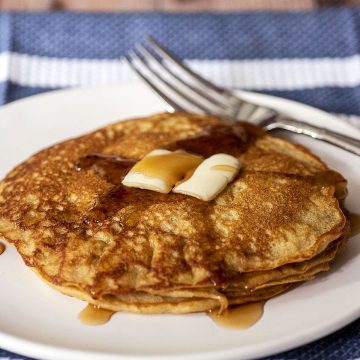
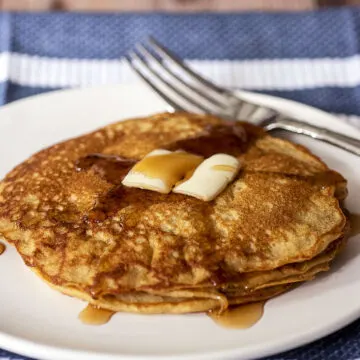
Breakfast Recipes


Search the Site
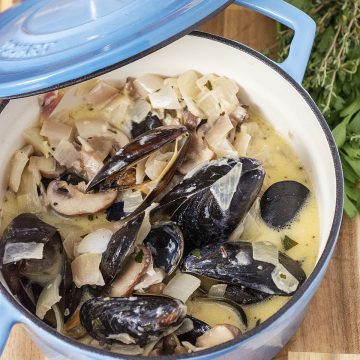
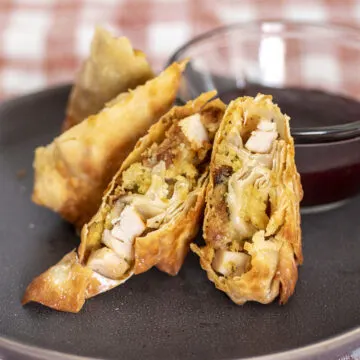
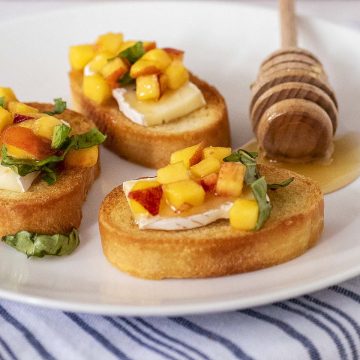
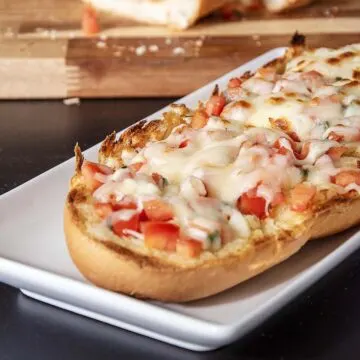
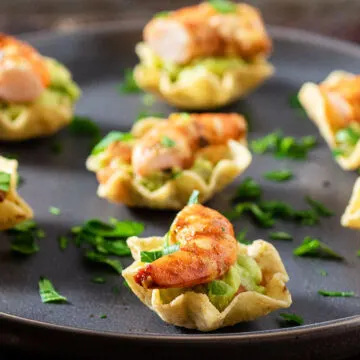
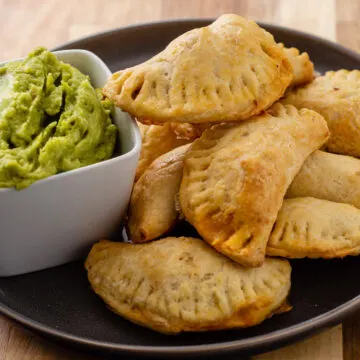
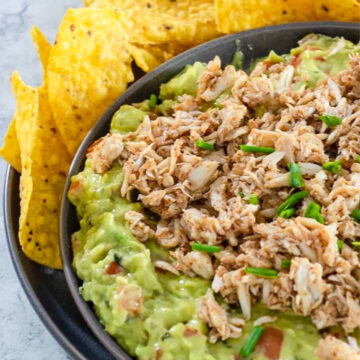
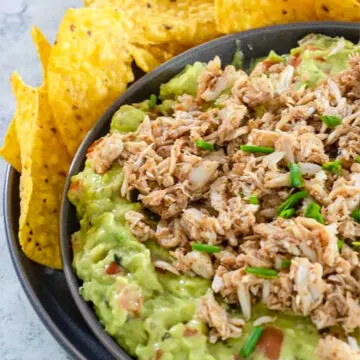
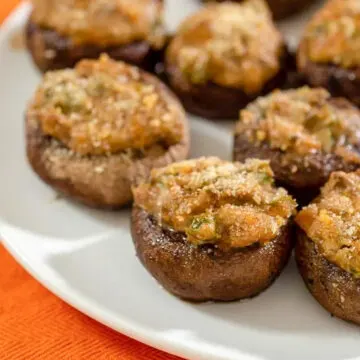
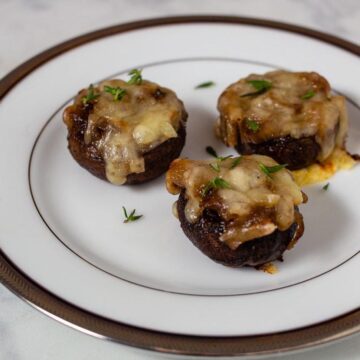
Appetizer Recipes


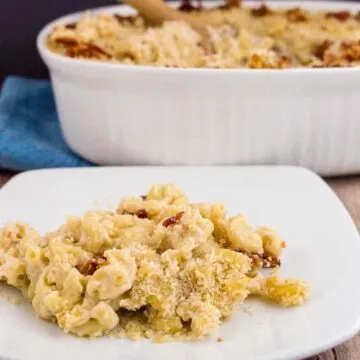
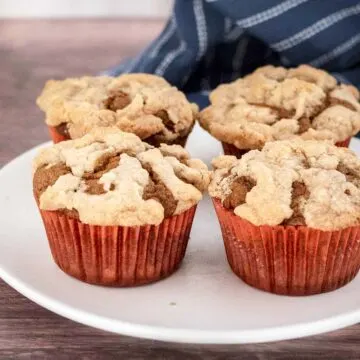
Recently Published Recipes
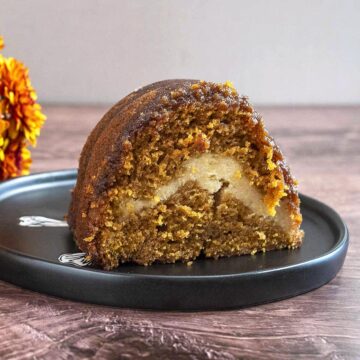
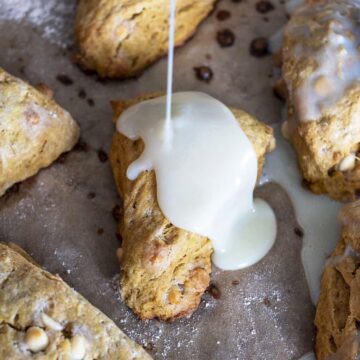
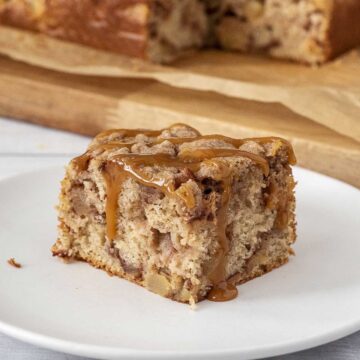
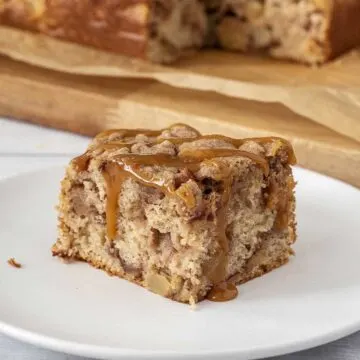
- Caramel Pumpkin Bundt Cake
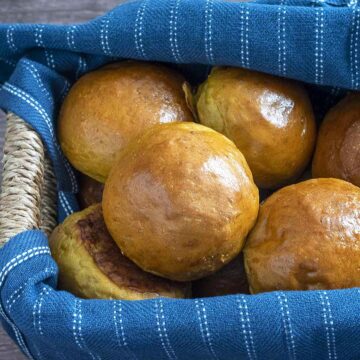
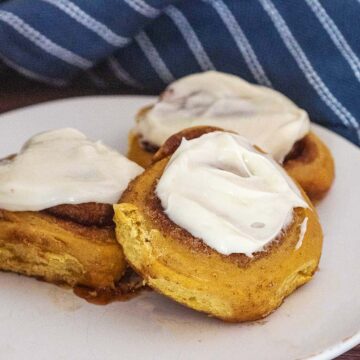
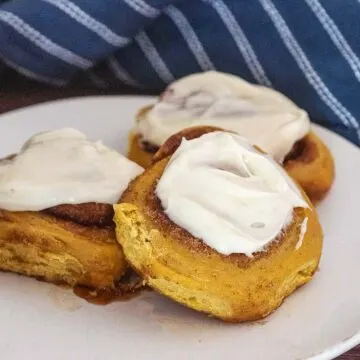
- Pumpkin Spice Brioche Rolls
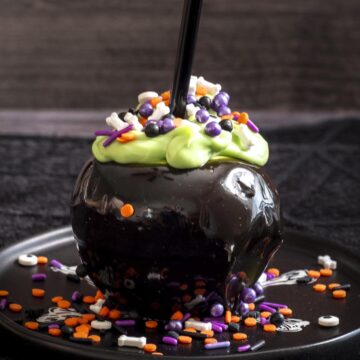
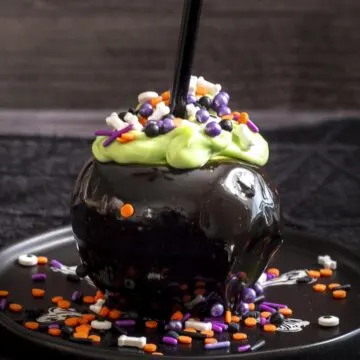
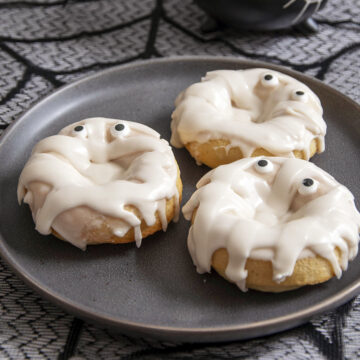
- Bubbling Cauldron Caramel Apples #HalloweenTreatsWeek
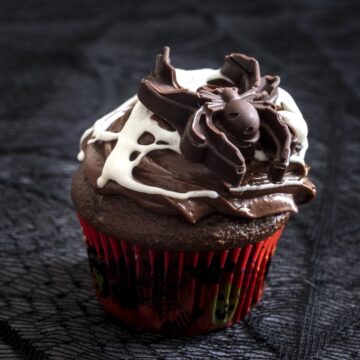
- Marshmallow Spiderweb Cupcakes #HalloweenTreatsWeek
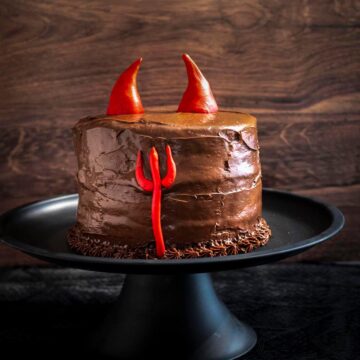
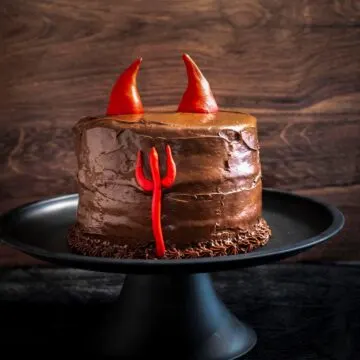
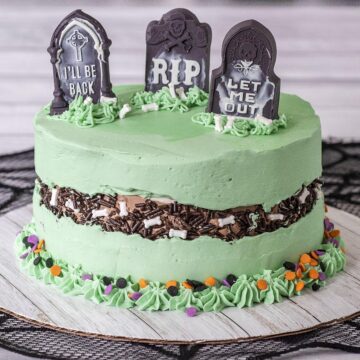
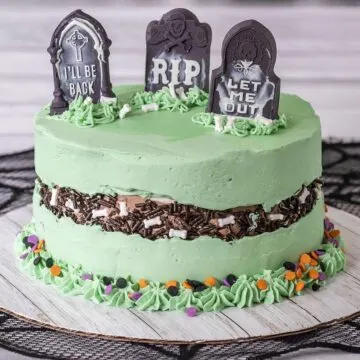
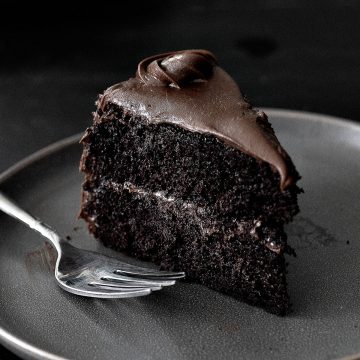
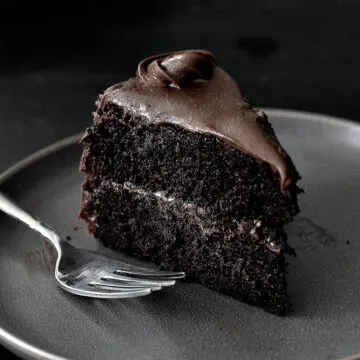
- Devil's Food Cake #HalloweenTreatsWeek
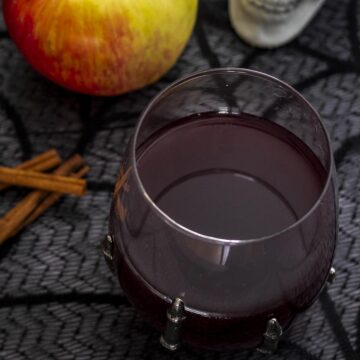
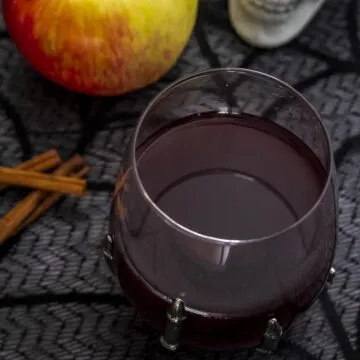
- Spooky Red Cider Sangria #HalloweenTreatsWeek
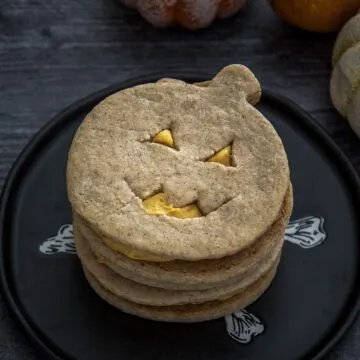
- Jack-o-Lantern Sandwich Cookies #HalloweenTreatsWeek
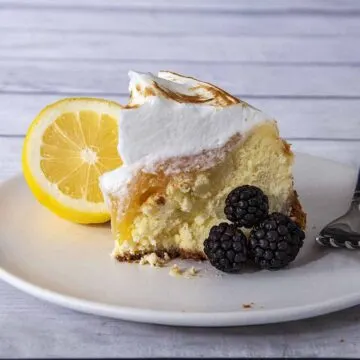
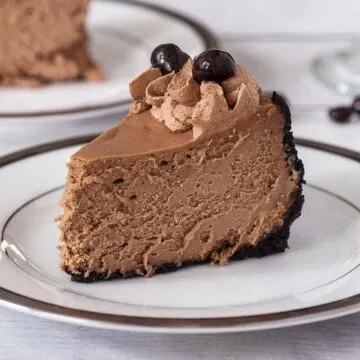
- Lemon Meringue Cheesecake